How to Change your Raspberry Pi Image File
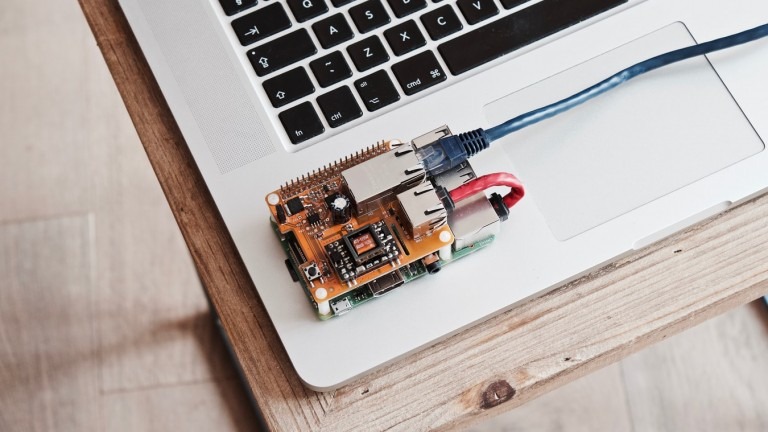
Raspberry Pi has been used in various applications as a typical SBC (single-board computer), while an image file is stored on a disk containing an OS such as Raspbian, which is required to operate the Raspberry Pi, and is usually written to an SD card for use. You can download it here.
For this project, we set up a Raspberry Pi and duplicated the SD card to put the same settings in advance on multiple Raspberry Pis. Some sources say that copying files is not enough, and that you may need to perform boot record and partition configuration for booting OS from SD card as well.
We thought about copying the whole SD card including them, but recently Raspbian had a partition expansion according to the size of the SD card at the first startup.
That means an error will occur if the size of the SD card of the copy destination is small, an error will occur. Even if a general SD card is written as “8GB” or “16GB”, the exact size varies depending on the manufacturer and model number.
If we tried to copy the entire SD card with more than 10 units, it could result in disappointment with more than half of the Raspberry Pis being useless. Therefore, we decided to directly edit (customize) the image file and write it to the SD card.
Two Steps to Editing your Raspberry Pi Image File
Before we start, lets make sure we have everything we need!
- Hardware: Raspberry Pi 3 B +
- OS: Raspbian Buster Lite 2019-06-20
- Image file: Raspbian Buster Lite 2019-06-20
The method is to mount the image file and fiddle with it. If you need to install software other than copying files, you can use chroot to change the root file system to an image file. If you do not chroot, it may be sufficient to prepare the ext4 file system mount on OS other than Linux such as MacOS.
However, we decided to install Raspbian on the Raspberry Pi locally. We put the image file on the disk and it worked!
Here’s how we did it:
Step 1: Mount Image File
By mounting the Raspberry Pi, you can access inside the image file. Since the Raspbian image file has a multi-partition configuration that covers the entire disk, we recommend using the device mapper to prepare device files for each partition.
Install the necessary packages in your working environment and execute the kpartx utility to generate device files.
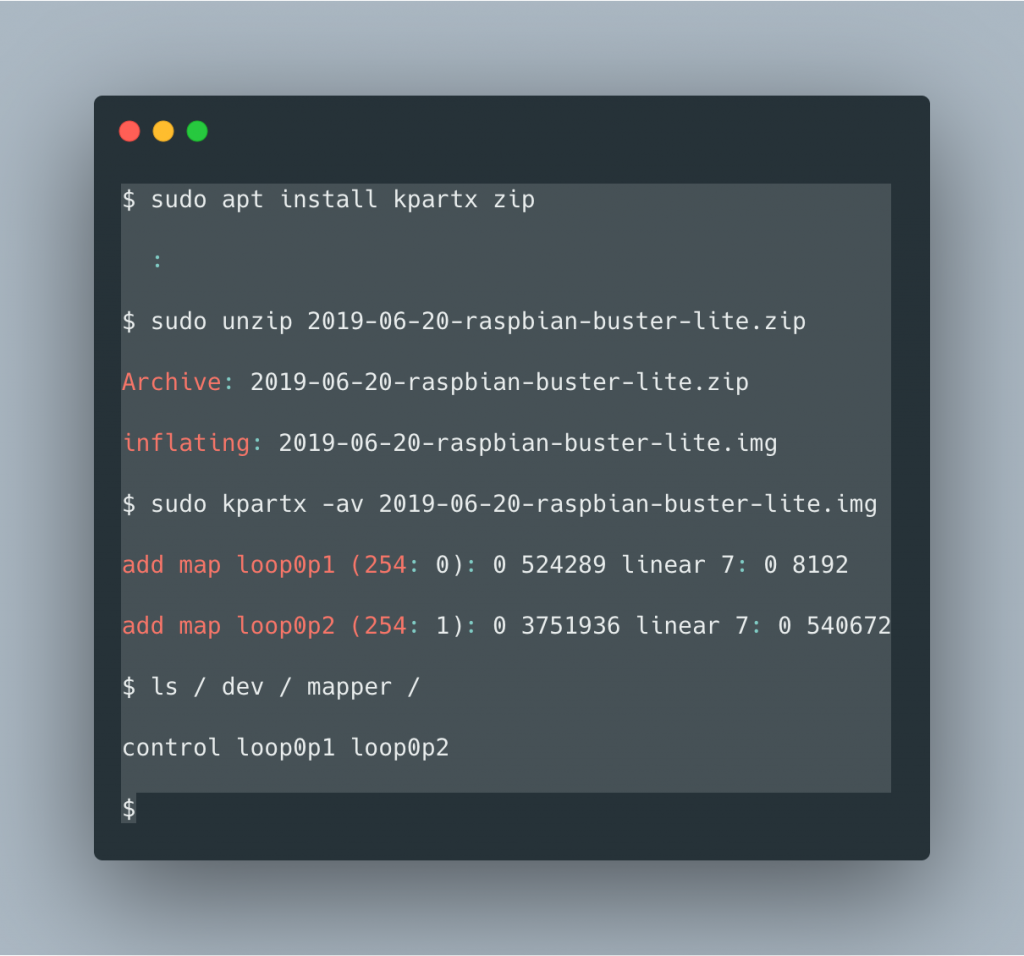
In the Raspbian image file, the first partition is / boot (loop0p1 file) and the second partition is the root file system (loop0p2 file). This time, edit the root file system, so mount / dev / mapper / loop0p2 on the mount point / newroot.
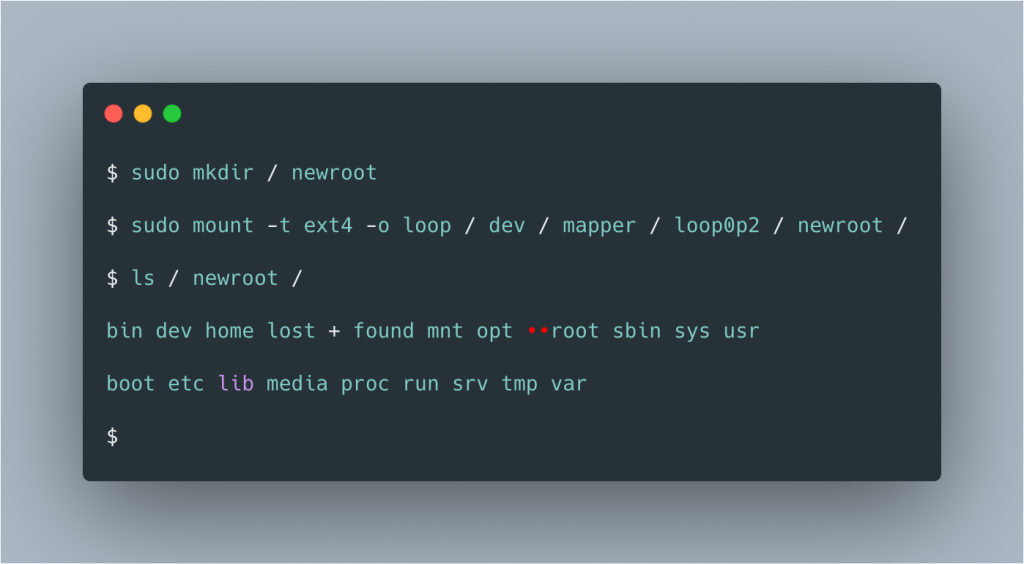
You can see the contents of the root file system and can now edit the files in the image.
Step 2: Run chroot
When you execute chroot, you can perform operations in the image file that are not compatible with file copying, such as package operations. This time I will install Apache and PHP packages.
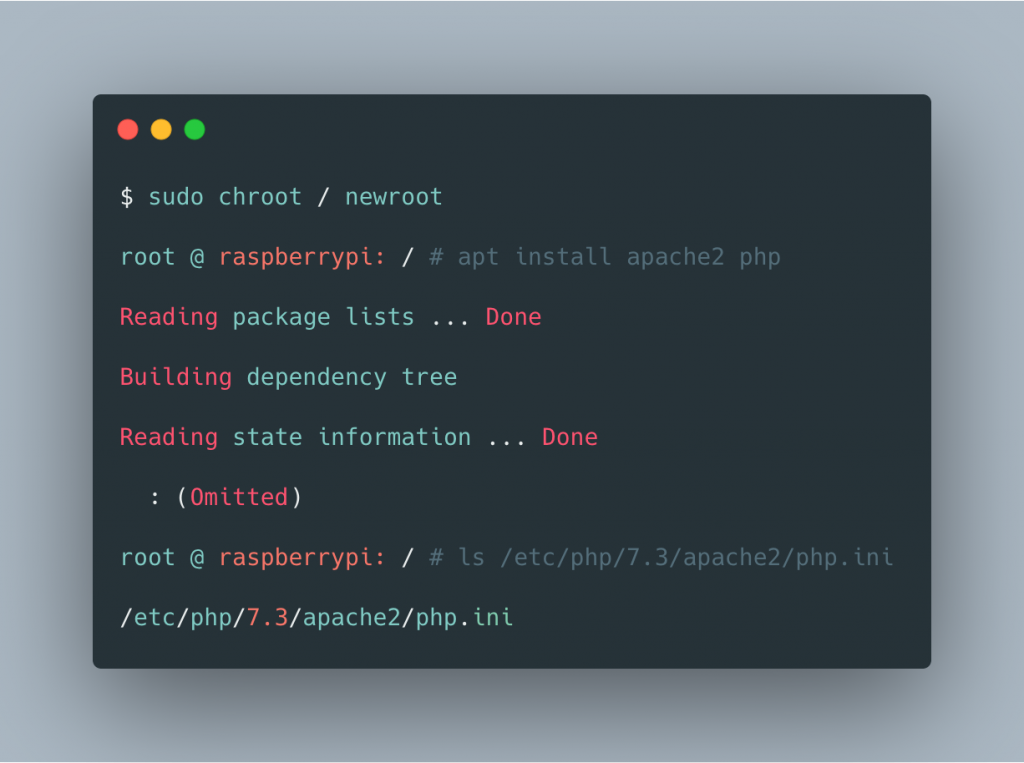
It feels good! After that, let’s complete the customization operation and unmount it.
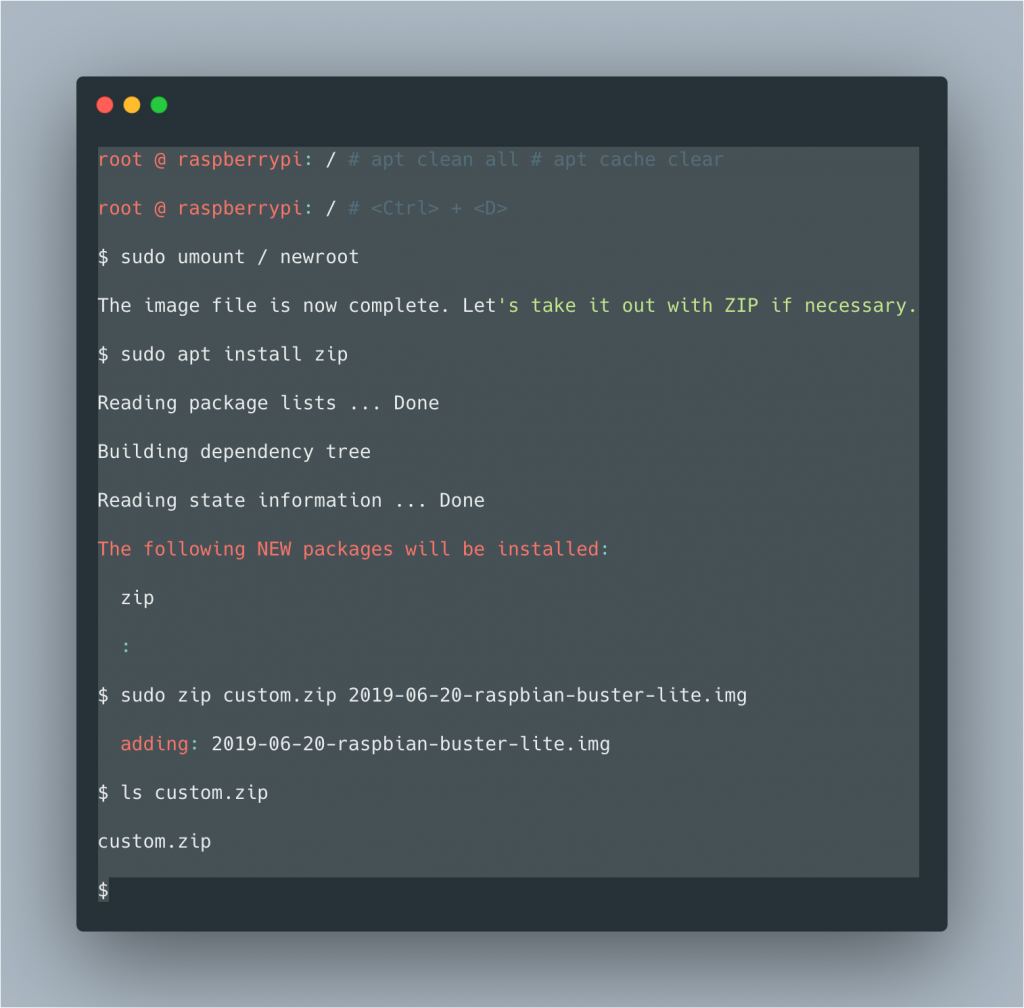
Easy as That!
In just two steps, we were able to successfully customize our Raspberry Pi image file. This article is pretty straightforward but we feel that this feature can provide a lot of value to developers that are trying to optimize their Raspberry Pi projects.
Please try it out and tell us what you think!