LEGO EV3 and Soracom – Connecting Robotics to the Cloud
Getting started with robotics has never been easier. The challenge now is that with with so many options available, each seemingly more costly and complicated, it can be hard to decide how to take the first step.
Enter LEGO’s vision of Robotics (and by extention STEM learning): LEGO Mindstorms EV3
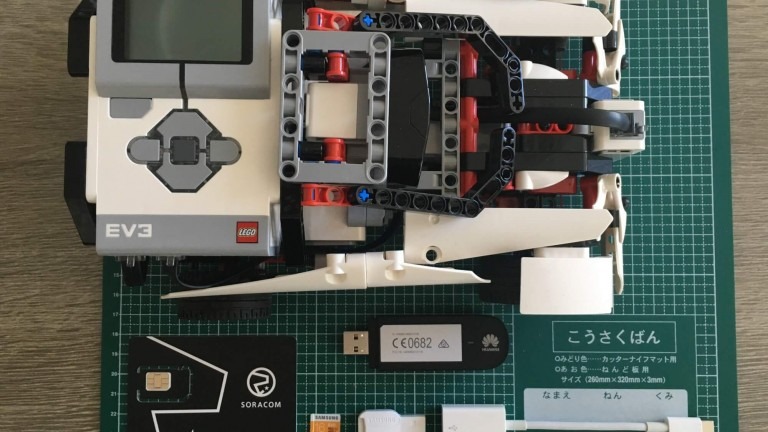
Cellular connected LEGO EV3 kit
The LEGO kit is available for purchase on Amazon and on the LEGO online store and is a great way to get started with Robotics, with straightforward, bluetooth-based sample projects to help anyone get up and running relatively quickly.
But what if you wanted to go beyond a bluetooth connected robot? What if you wanted to use the power of secure IoT together with your newly designed robot? Our answer: let’s do it!
For this project, the Soracom engineering team collaborated with David Lechner from the ev3dev project, which has already ported the Debian Linux operating system to LEGO’s EV3 hardware.
Thanks to the ev3dev project we were able to connect our robots to Soracom and the cloud to truly start to design our various robotics use cases.
++++++
The project is still in early stages, but we wanted to start sharing details so that more people can get started:
First of all, you will need the following Hardware:
- LEGO Mindstorms EV3 kit (FR UK DE IT US JP LEGO)
- MicroSD or MicroSDHC card, 2GB or more (MicroSDXC is not supported)
- 3G Dongle (We currently recommend the Huawei MS2131, available from TechShip)
- Soracom Air SIM Card (FR UK DE IT US JP)
- Optionally: LEGO Mindstorms EV3 Laboratory book for additional designs (Danny’s LAB)
- Computer with bluetooth connection sharing and SSH client
- Once you have the robot of your choice assembled, prepare the SD card by downloading the latest Debian Jessie ev3dev image here:
snapshot-ev3dev-jessie-ev3-generic-2017–04–14.img.xz - Burn in the image on your MicroSD card using Resin.io’s Etcher:
https://www.balena.io/etcher/ - Once you’re done, insert the MicroSD card in your EV3 and boot it up by pressing the central button (LEGO EV3 is designed to boot from SD card, if none is available, it will start its standard operating system)
- When your EV3 is online, follow ev3dev’s tutorial to get it connected to Internet:
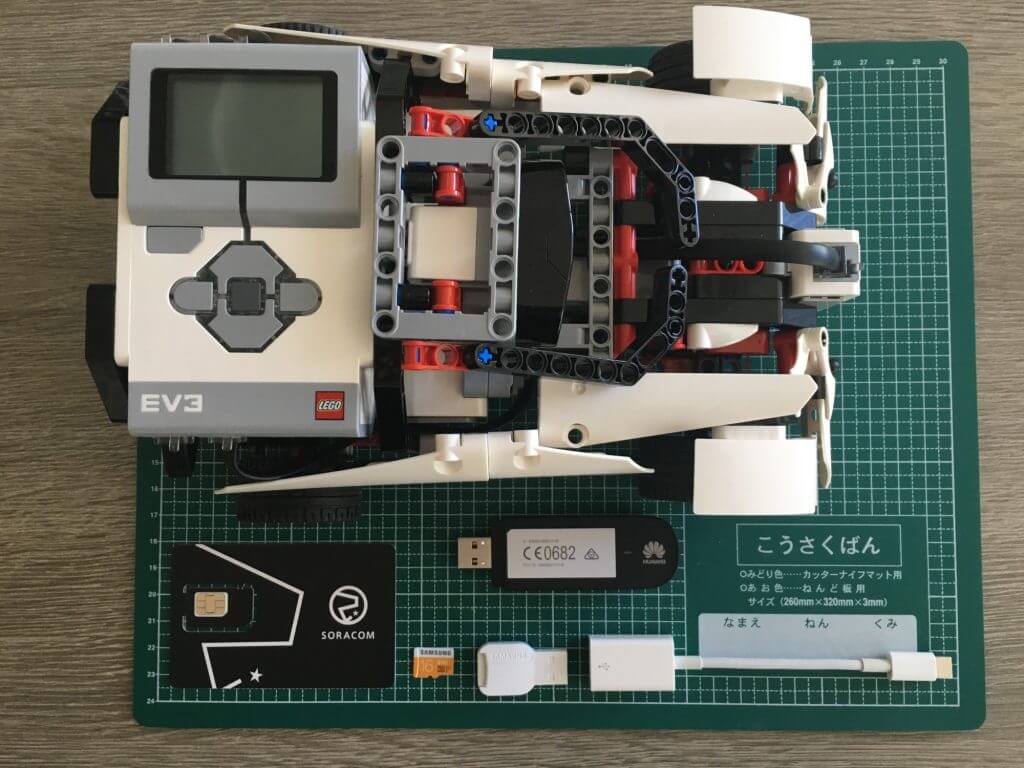
https://www.ev3dev.org/docs/tutorials/connecting-to-the-internet-via-bluetooth/ - Now you should be able to ssh into it, check your IP address on the top left of the EV3 screen, default user/pass are robot/maker
`[user@MacBook.local:~]$ ssh robot@192.168.2.8`
`[…] Debian jessie on LEGO MINDSTORMS EV3! […]`
`robot@ev3dev:~$ ` - When you’re connected to your EV3 via SSH, you can now install and configure the extra software to handle a 3G Dongle and Cellular connection:
Create base OS configuration:
`robot@ev3dev:~$ sudo modprobe tun`
`robot@ev3dev:~$ sudo sh -c ‘echo tun > /etc/modules-load.d/ofono.conf’`
Install extra software:
robot@ev3dev:~$ sudo apt-get update
robot@ev3dev:~$ sudo apt-get install ofono ofono-scripts usb-modeswitch mobile-broadband-provider-info - Now that the base configuration and software have been added, plugin your 3G Dongle and configure USB modem switching:
run lsusb and note down your Dongle vendor and hardware IDs
robot@ev3dev:~$ lsusb
Bus 001 Device 004: ID 12d1:14fe Huawei Technologies Co., Ltd. - Configure udev to automatically switch your Dongle to Modem mode using its vendor and hardware IDs:
robot@ev3dev:~$ sudo bash
root@ev3dev:/home/robot# echo ‘ACTION==”add”, SUBSYSTEM==”usb”, ATTRS{idVendor}==”12d1“, ATTRS{idProduct}==”14fe”, RUN+=”/usr/sbin/usb_modeswitch -v 12d1 -p 14fe -J”’ > /etc/udev/rules.d/10-soracom.rules
root@ev3dev:/home/robot# /etc/init.d/udev restart
root@ev3dev:/home/robot# exit - Now that udev has been configured, unplug your 3G Dongle and plug it in again. Once this is done proceed to configuring your 3G connection:
robot@ev3dev:~$ sudo /usr/share/ofono/scripts/create-internet-context soracom.io
robot@ev3dev:~$ sudo /usr/share/ofono/scripts/set-roaming-allowed
robot@ev3dev:~$ sudo /usr/share/ofono/scripts/online-modem
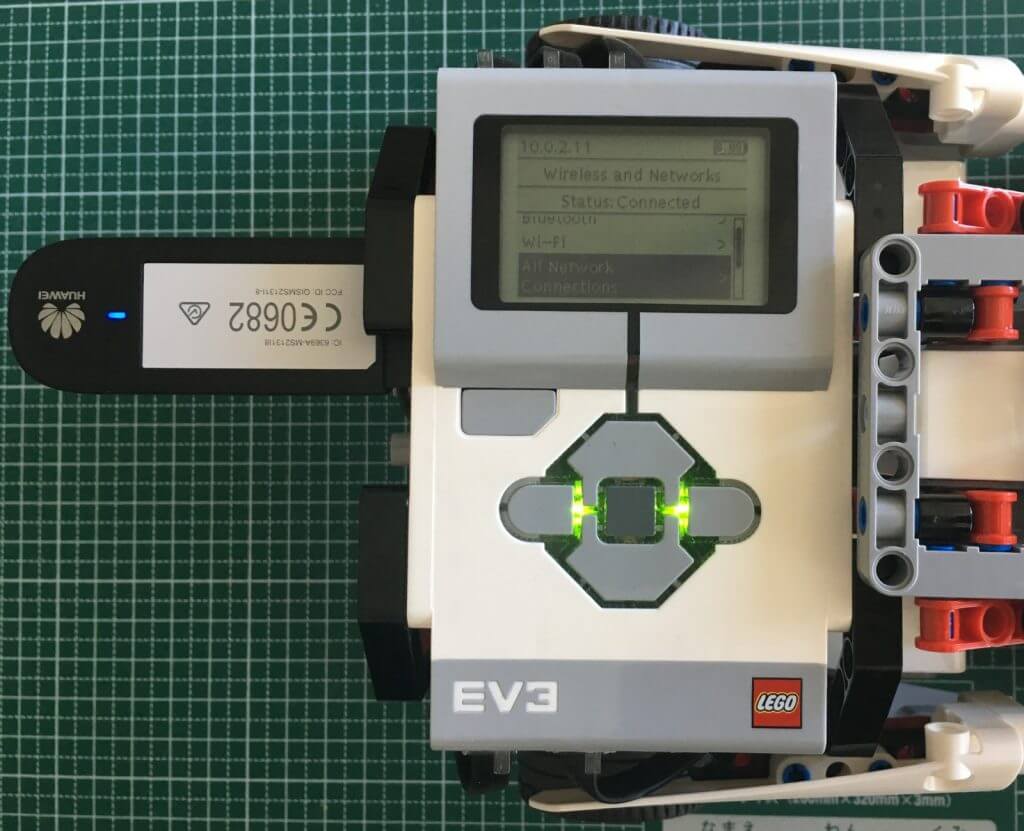
robot@ev3dev:~$ sudo connmanctl enable cellular - You should now see the Cellular connection option in your EV3 menu under Wireless and Networks > All Network Connections > Cellular Network name
- Click on it and select connect, that’s it! You’ve got a Cellular connected and cloud-ready LEGO EV3 Robot.
LEGO EV3 IP address on top left of the screen
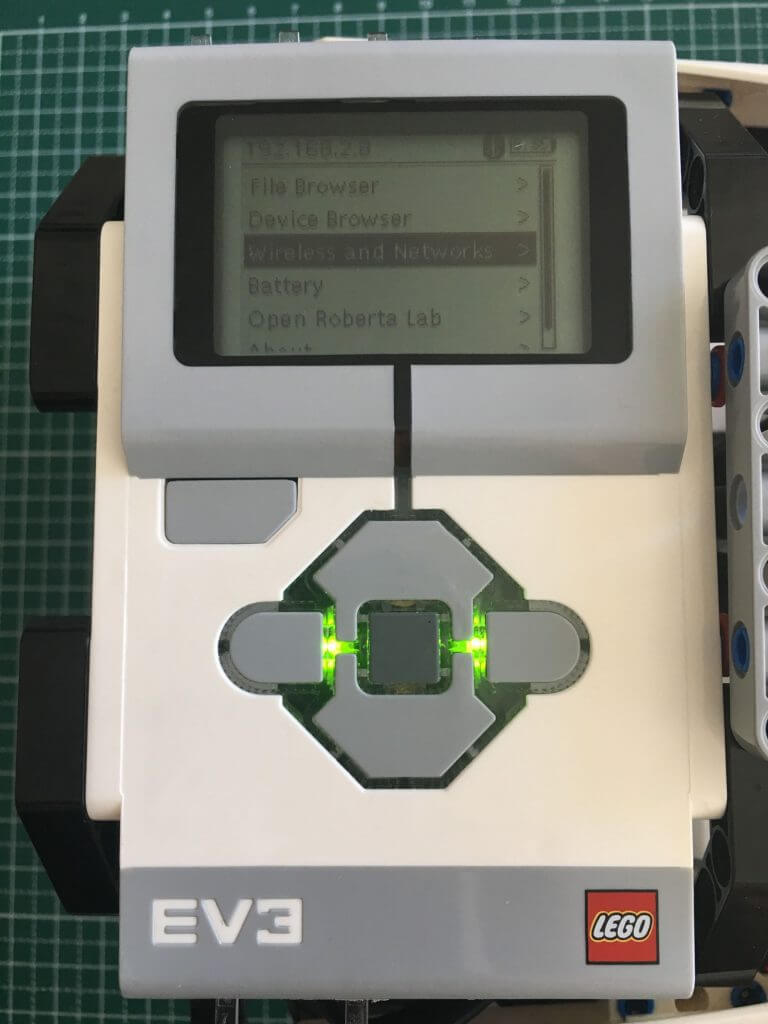
LEGO EV3 Rotobics car connected and ready to go
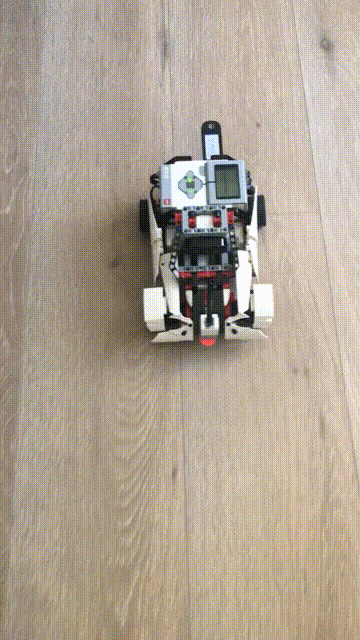
On our end, we are using the Soracom Gate service to connect back to the robot via ssh and remotely control it. There are plenty of other use cases available, such as MQTT or even running an own-designed HTTP server with attached ev3dev NodeJS module on it to send commands.
Remote control of LEGO EV3 Robotics car via Soracom cloud-based cellular private networking
We’re carrying on with testing and development on this kit and will be sure to publish some more how-to and getting started, meanwhile we’re focusing on automating Cellular connection during ev3dev startup and will update this article as this is done.