
How to Provision a Raspberry Pi Manually

One of the more time-consuming components of deploying an IoT solution that utilizes a Raspberry Pi is provisioning each and every device in a deployment. Writing the OS to a microSD card from your PC (if you have a card reader), individually inserting one into each Raspberry Pi, and then repeating that process until the entire fleet is configured can take up a lot of a developer’s time. Fortunately, there is a time-saving method that can allow you to manually provision an RPI and load your image from the network by utilizing a beta version of the Raspberry PI Bootloader and a new Raspberry Pi 4.
After learning about this method, I was very excited to try this solution out for myself when it struck me: At this point in time, unfortunately, I do not have access to the hardware required to perform these tests. Fortunately, my colleague across the pond, Felix “Rein” Stubner does! So leaning on his firsthand account of this process, here are the steps and tools you need in order to go through it on your own.
What Do I Need to Provision My Raspberry Pi?
Let’s start by looking at some of the hardware that you will need to perform this task. For starters, you will need the following:
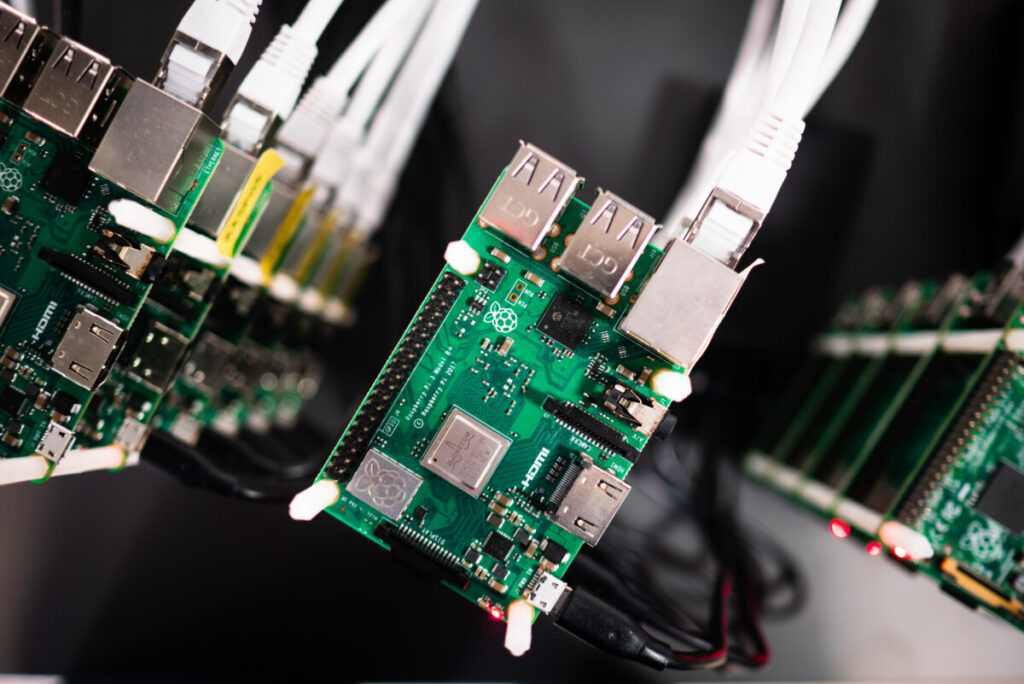
- A Raspberry Pi 4
- A 16GB microSD card for the OS install
- A PC or Mac for firmware updates
- A display to connect to your device
This is a relatively basic set of requirements and should allow you to get started testing whether or not this process would be a valid time saver for you in your implementation. As a prerequisite, you will also need to install the Beta Bootloader, with any version 1.7.1 and up having a special entry for the Beta firmware release.
Installing an OS to Your Raspberry Pi
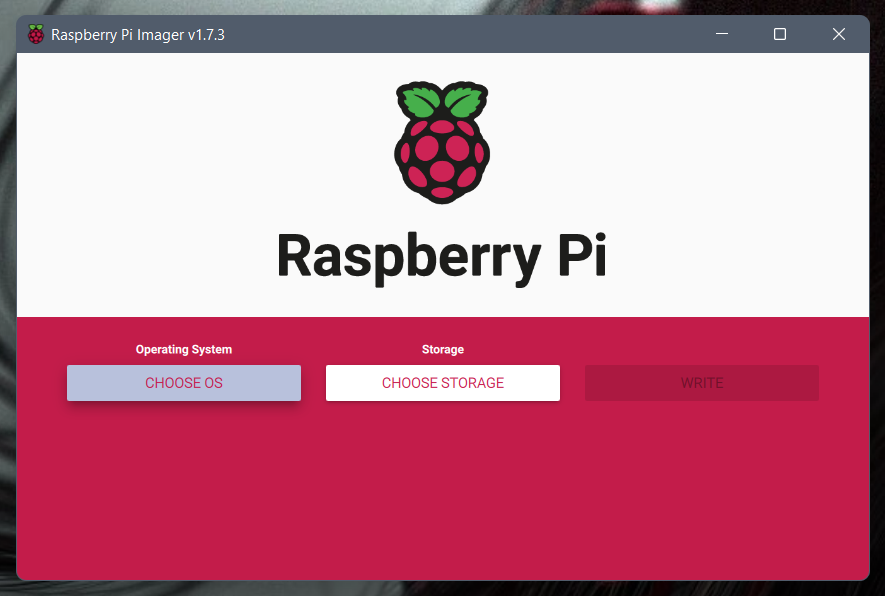
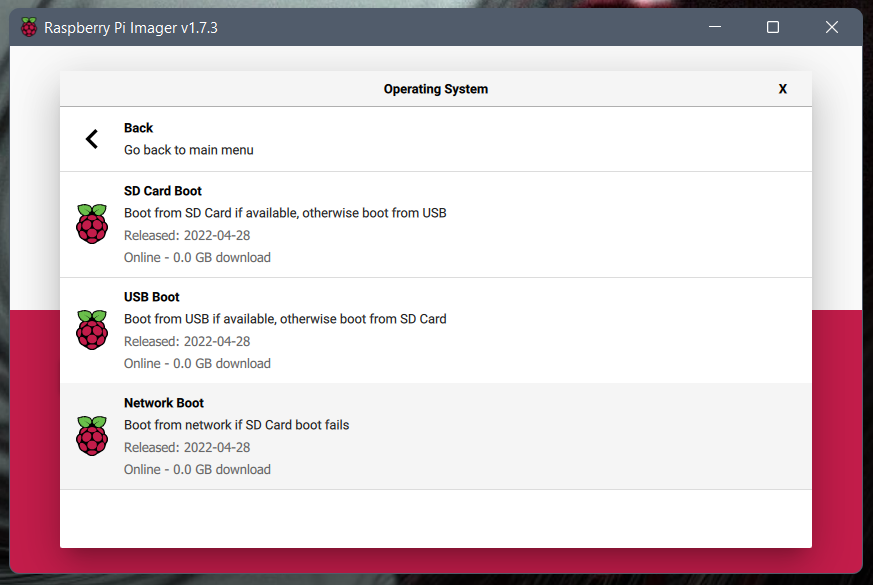
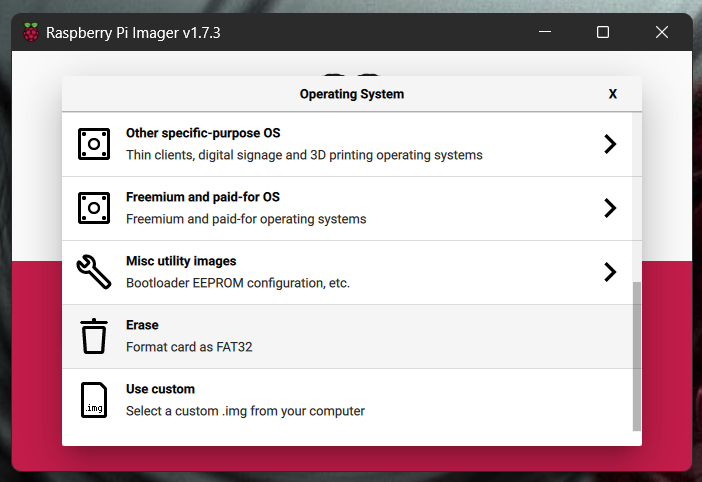
For an experienced Raspberry Pi user, the next few steps should sound somewhat familiar. First, insert a 16GB microSD card into your computer’s card reader, open the Bootloader, and select ‘Choose OS.’
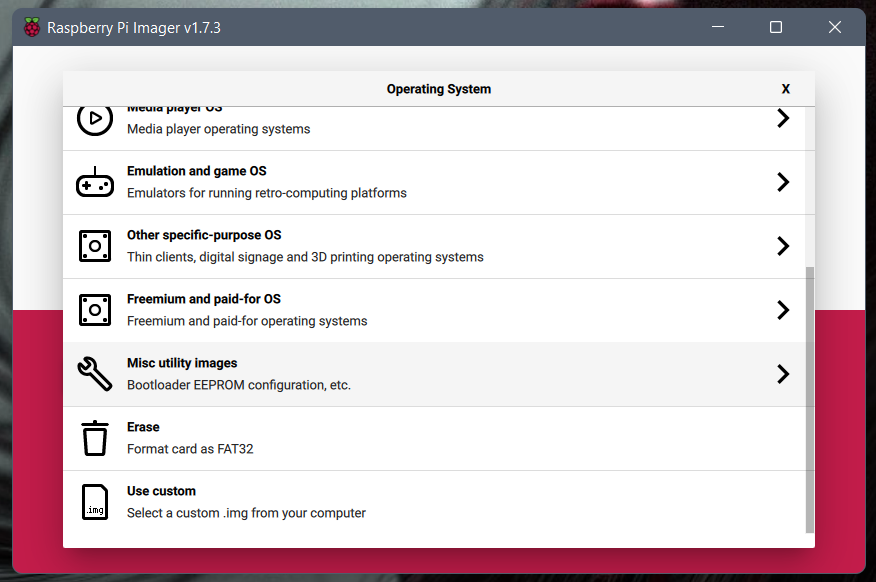
Then scroll down until you see ‘Misc Utility images.’
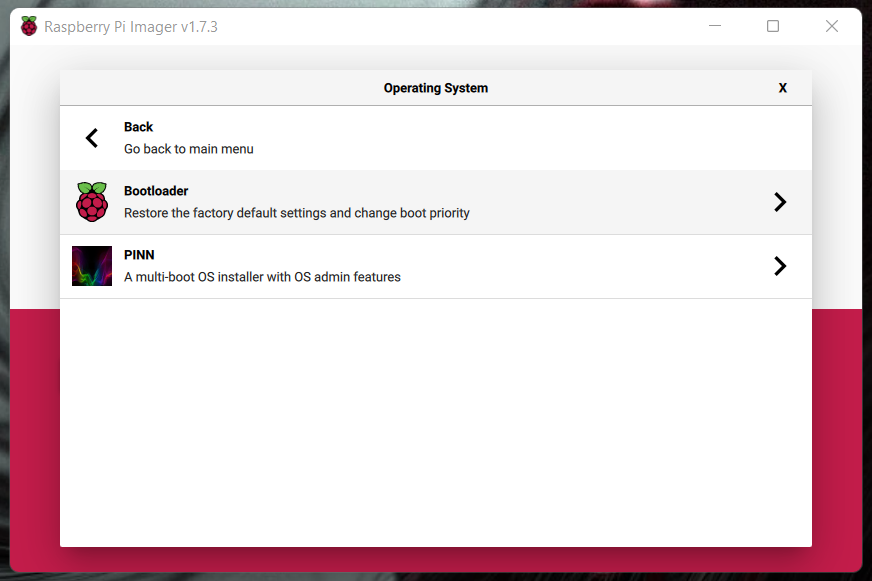
Then select ‘Beta Test Bootloader’.
Followed by ‘Network Boot’.
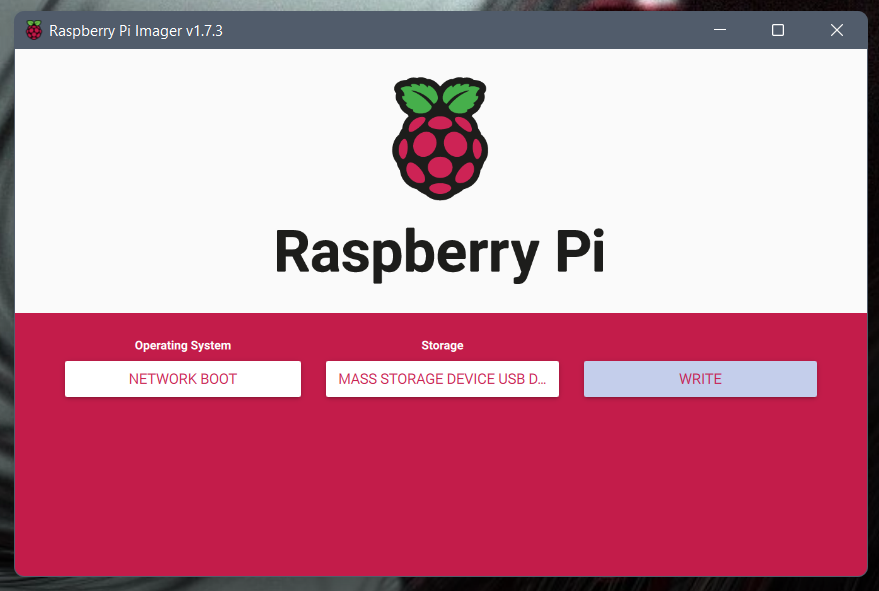
Then, select the storage media you want to use – in this case, the microSD card…
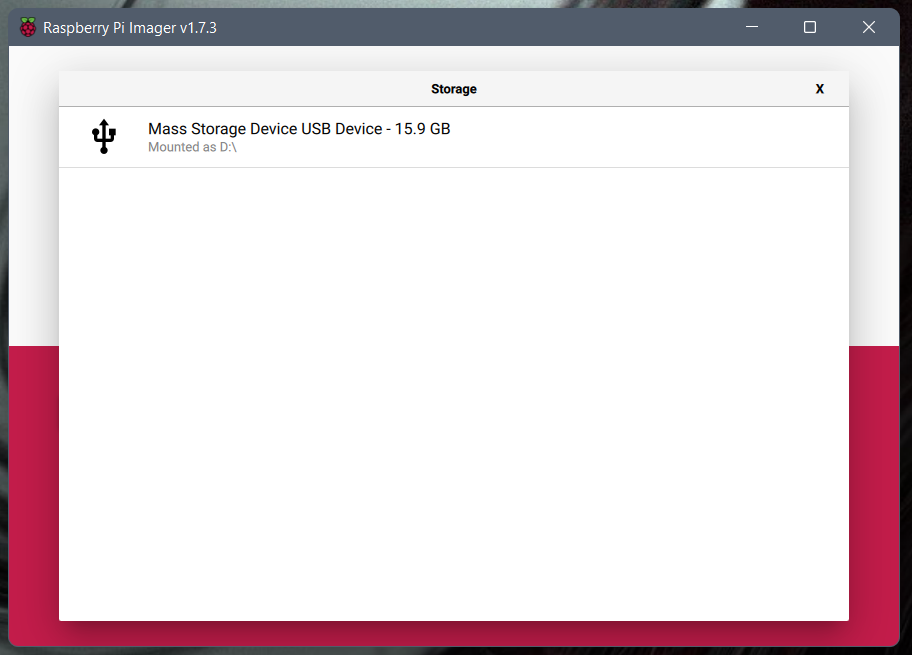
– and select ‘Write.’
Once your image is written to the microSD card, insert it into the Raspberry Pi, and connect a display.
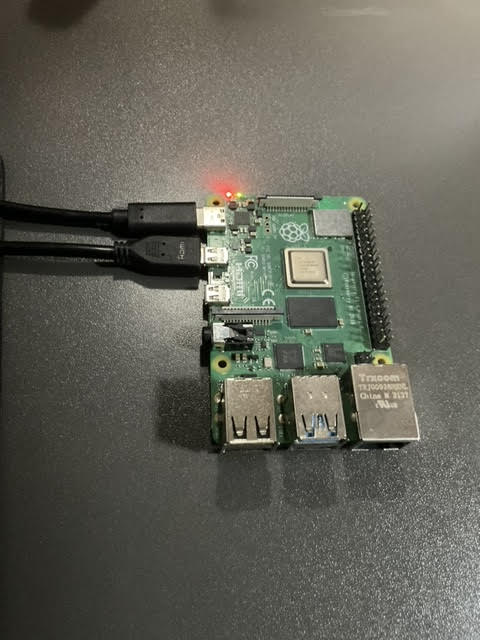
Power up the device, and wait for the screen to display green. At that point, power off the device, as the bootloader has been updated. Reformat the microSD card as a FAT32 drive within your computer, and return it to your Raspberry Pi.
Now, the RaspberryPi is ready to write to a microSD card directly from the network. Simply connect the monitor and network cable to the device and power it on. When the BIOS finishes loading, press and hold shift and the spacebar. This will trigger the Raspberry Pi imager and allow you to select the OS you want to install.
The process is nearly identical to writing an image using your PC, and the Raspberry Pi can be used to image additional microSD cards, albeit one at a time.
Why Provision Your Devices This Way?
There are some scenarios where this process could be an easier solution than manually writing each microSD card with a fresh image for each device in your deployment. If you are bringing a lot of devices to a location where there is not easy access to a PC, you could utilize this method to image one Raspberry Pi and then continue to write the OS to each additional microSD card needed for your deployment. If you wanted to utilize this process to have one Raspberry Pi as your bootable option per location and wanted to utilize that device to expand your fleet of devices, this could be another viable option.
Determining whether this option will improve efficiency in deploying your devices – or if it is just an interesting tool to have in your back pocket – is entirely dependent on your workflow. There are additional resources that discuss using a network switch and multiple Raspberry Pi devices at a time, all of which can add to the hardware required and the complexity of the situation. No matter which method you choose, provisioning a fleet of connected devices will still likely be a time-consuming process, but there could certainly be situations where making use of the Raspberry Pi’s ability to boot directly from the network may be a useful workaround.
*Special thanks, again, to Soracom Customer Reliability Engineer Felix “Rein” Stubner for his assistance and the screenshots of the process.
………………
Got a question for Soracom? Whether you’re an existing customer, interested in learning more about our product and services, or want to learn about our Partner program – we’d love to hear from you!


MORE LIKE THIS


What is Soracom?
Discover why technology innovators choose Soracom for connecting their
devices to the cloud over cellular.

Soracom's Picks
Advices and interviews, to inform and inspire.
Roaming is Not a Four-Letter Word: Decoding the Complexity of Global IoT Deployments Without the Massive Bill
TL:DR Picture the moment. A VP of Operations is reviewing…

Catch the Traffic Before You Cut It Off: Auto-Capturing a PCAP with Event Handler + Soracom Flux
TL:DR The 10 GB Weekend A field device sits on…

Retail’s “Invisible” Workforce: How IoT-Enabled Vending and Kiosks Are Rewriting the Rules of the Brick-and-Mortar Experience
TL;DR Walk through a modern shopping mall before the anchor…


Cloud Native
IoT Connectivity Platform
Soracom built the worlds first cloud-native connectivity management platform, built on AWS. Learn more about going beyond connectivity.