IoT Prototyping Series: Building an IoT Plant Cultivation System Pt. 1
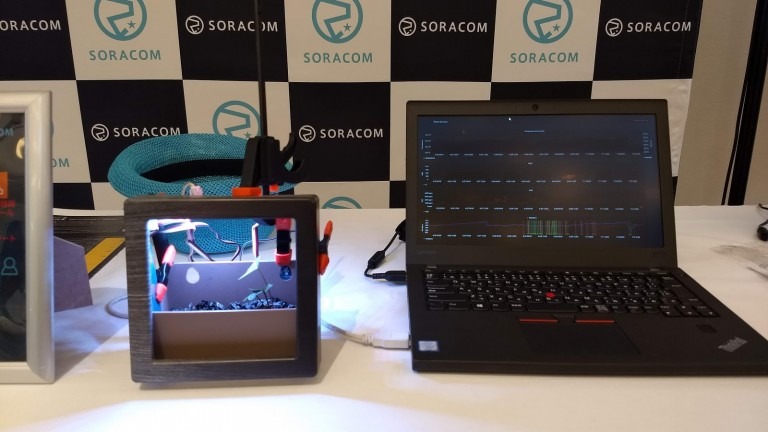
During the recent “IoT Prototyping” exhibit at Soracom Discovery, I displayed a plant cultivation system.

This was a really exciting project to work on so I would like to explain the process that I went through. Plus, I learned a lot from building this cultivation system and I hope I can pass on some knowledge to readers.
Why I Built It
One of the reasons for prototyping and exhibiting the plant cultivation system was that my plants kept dying!
The first time I grabbed a plant from the garden at home and tried to raise it, I failed. When I left it at my work desk, it didn’t get enough sun and would eventually wither away. I watered it almost every day but when I was away for some time, it would completely dry up.
This experience almost made me want to give up growing houseplants but I still wanted to greenify my room.
Seeed Launches Cost-Effective CO2 Sensor
When Seed released their Grove-compatible CO2 sensor, I tried to think what I could use it with and suddenly my idea for a plant cultivation system emerged.
Since photosynthesis in plants requires CO2, it is likely that the relationship between CO2 concentration and growth status can be monitored. However, the conventional CO2 sensor is expensive as I wrote in my personal blog post, and it was a little hard to get it for the purpose of purchasing it by yourself and measuring its value.
That’s what makes the price of Seeed’s Grove CO2 sensor so attractive! But there’s a reason that it’s cheap: the sensor measures the numerical value of eCO2 (or CO2 equivalent) rather than measuring CO2 itself.
It would be difficult to measure CO2 directly (the sensor would be expensive), so instead it measures Volatile Organic Compounds (VOCs) and H2 (Hydrogen) to estimate CO2 levels.
For more information about this process, please refer to this paper.
While it isn’t 100% accurate, it’s a method that can estimate the CO2 concentration relatively well in an environment where there are people indoors so it was the right choice for my system.
My First Test
In the garden of our house, the fresh green began to sprout, and when weeding and other things were done on holidays, I found a small ivy budding out between the gravel on the near the garden.
It was sad to pull the small little leaves apart and throw them away, so I decided to raise them with the help of my new IoT-powered plant cultivation system.
Preparing for the Project
I immediately bought what I needed on the Seeed Studio page. First, to solve the sunshine problem, I decided to use LED lights like those in plant stores. In the Grove system, there are various types of LEDs that can be connected to Wio such as strip type and matrix type from standard single type.
We chose ring type LED since it could be adjusted to full color (256 gradations for each RGB) with 20 lights and it seemed that I could freely adjust the brightness and color. There was also a straight 10-light type, but I didn’t know how much light was needed, so I chose a 20-light ring type because the large and small lights also worked.
Looking at plant store photos, I noticed images of pink light shining on plants. Since light of specific wavelengths of red and blue seems to be the key to growing plants, it seems that if only light of those wavelengths is efficiently irradiated, such pink light will be produced. Eventually, I wanted to see the differences in breeding conditions due to differences in light color, so I chose this type of LED that allows full color adjustment.
Next, I decided to attach a light sensor to check that this LED was properly illuminated . As I understood this later, the value of 0 is obtained when it is completely dark and about 600 when the LED is illuminated, but when the LED is illuminated, the brightness of the LED is not very much.
The initial purpose of checking whether the LED was illuminated could be fulfilled, since it was saturated at the value of about 600 without any influence. It seemed impossible to check whether it was there, so the price would be a little higher, but it might have been better to use another sensor such as a brightness sensor.
We also purchased a soil moisture sensor which measures the amount of water in the soil by capacitance. The sensor is made in a way that prevents rust from easily occurring as the metal terminals are not exposed.
I bought the CO2 sensor I mentioned earlier. Since CO2 is indispensable for growing plants, I am planning to collect some data. In addition to these, I also decided to use my original Grove compatible temperature and humidity sensor. I bought charcoal (a substitute for soil) and a container for hydroculture at a home improvement store.
The purchase at Seeed Studio arrived by airmail n in about 3 days. This time, I decided to use the original Wio3G (plan01s LDV). We expected LDV to be the most cost-effective, considering that data traffic would not be very high.
Almost There!
Now that we have everything, it’s time to get to work!
In our next blog post, we’ll be starting to build our IoT plant cultivation system after collecting all of the materials. See you next time!