
4 IoT Projects you can build with the Soracom IoT Starter Kit
Big ideas don’t require big hurdles to make them reality. At Soracom, we believe in empowering people to explore what is possible when connectivity is made easy – And for many, that means taking on their first IoT Projects.
That’s why we built the Soracom IoT Starter Kit – to create a beginner-friendly experience for anyone wanting to launch an IoT project quickly and easily.
Powered by the popular Arduino MKR GSM 1400 and MKR NB 1500 development boards, the kit includes everything you need to build a connected device – leveraging the latest cellular technologies and industry-standard components.
With Arduino’s vast open-source ecosystem combined with cellular connectivity and platform services from Soracom network, there’s no limit to what IoT projects you can build.
Already know what you want to make?
If you’ve already gotten your hands on our Starter Kit and started building, then great! Make sure you share your projects with us on Twitter at @SoracomIoT or by using the #soralife hashtag – we’d love to feature your creativity on our next livestream.
Not sure what to build?
If you’re looking for a little bit of inspiration for your IoT project, then we’re here to help.
This post contains a whole host of ideas for what can be built with our IoT Starter Kit, along with some resources to help you on your cellular IoT journey!
The following examples can all be built using either the Arduino MKR GSM 1400 or MKR NB 1500 cellular development board, an Arduino MKR Connector Carrier, a Soracom Global IoT SIM card, and Grove sensors – all of which are included in our IoT Starter Kit.
1. Universal Alarm System
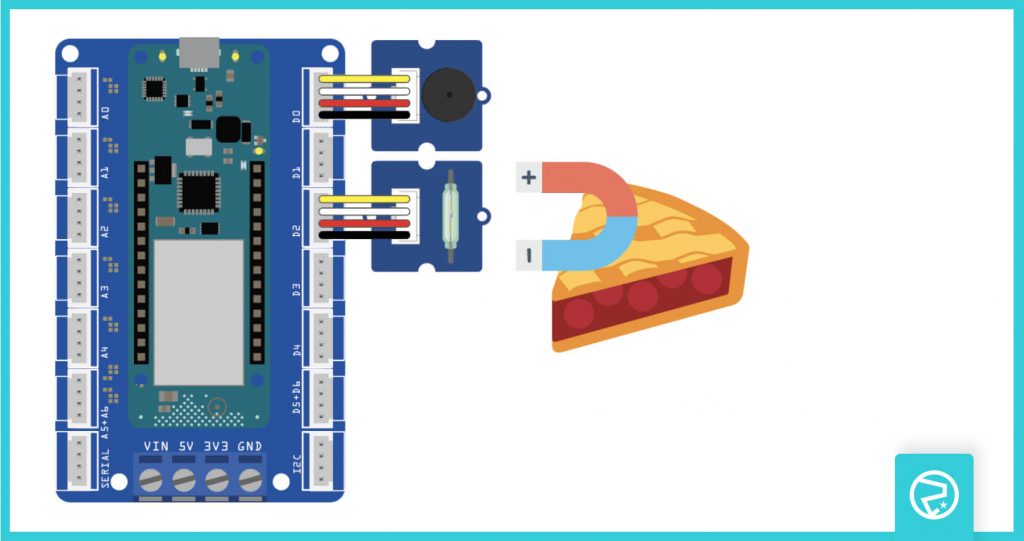
Have you ever had someone steal your sandwich from the fridge? Or maybe you’re in a remote area where you need to secure an item or entry.
Worry no more! Using the included Grove Reed switch, which is activated by a magnetic field, and the Grove Buzzer you can create a universal alarm system.
Just place a magnet on the object or area to be secured, and when it moves away from your Soracom powered alarm system, it can be programmed to sound a siren and send a notification through SMS or a cloud resource using Soracom Funnel.
2. Asset Tracker
![]()
From packages, vehicles, scooters, and livestock – there are many assets worth tracking. When you connect a device to the Soracom network, its location is determined by the nearest cellular tower… but what if you want precise positioning?
The Grove GPS module included in the kit can be used in combination with Soracom Harvest to quickly create a low-cost and robust tracking solution.
3. The Ultimate Button
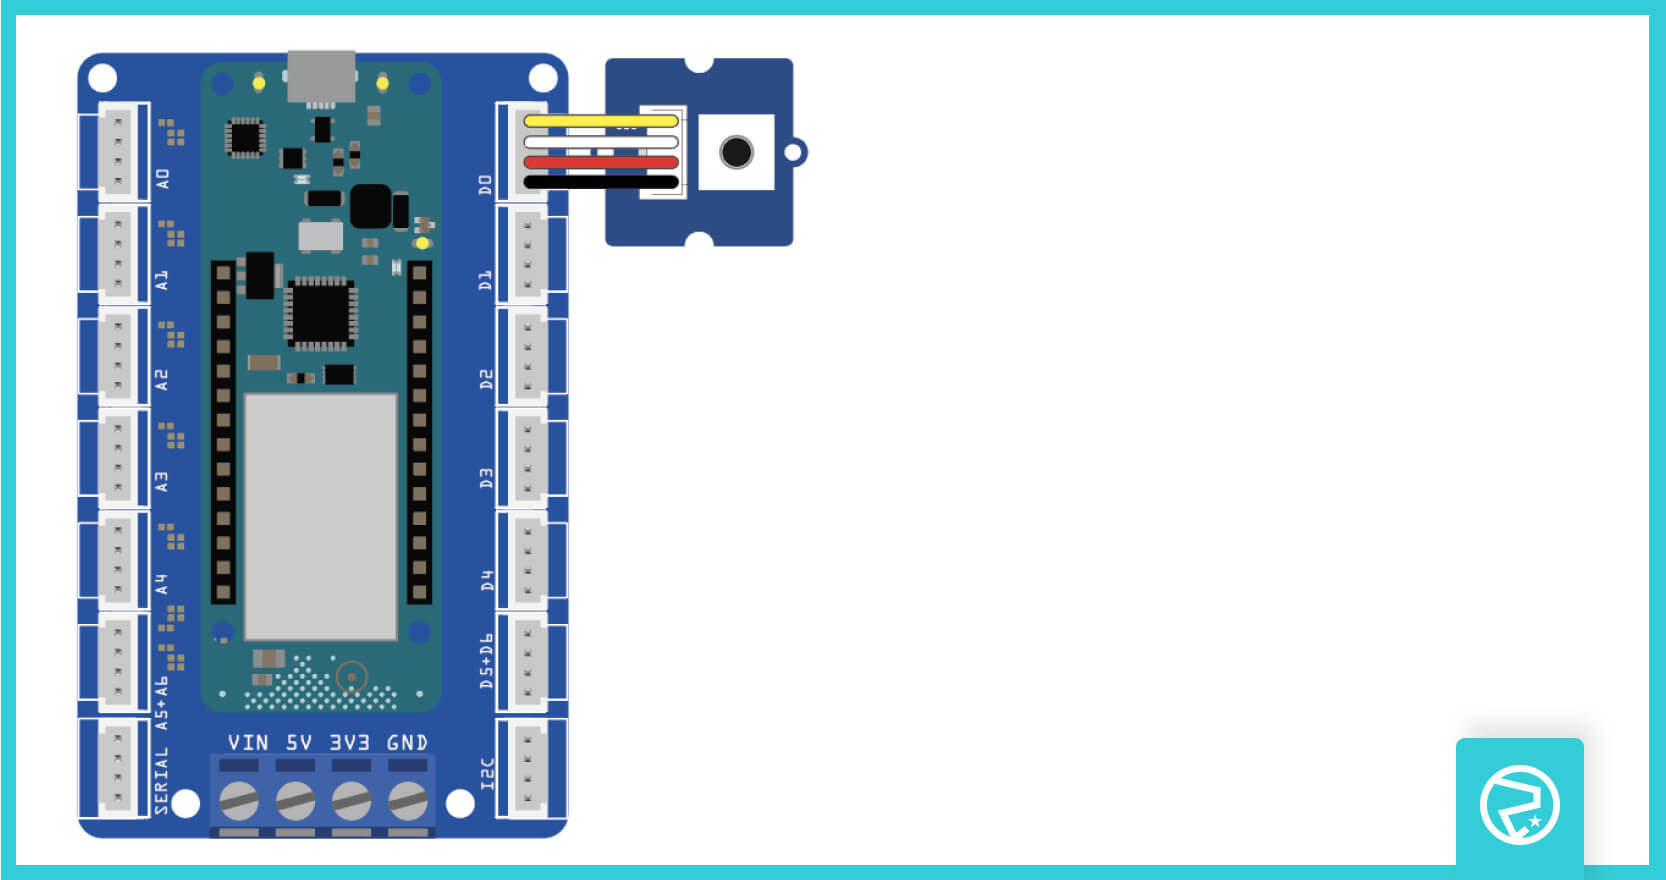
The “hello world” of cellular is a button… push it and it performs a singular action. Plug the Grove button included with the kit into the carrier board and you’ve got yourself a button that works anywhere using cellular.
Use it to kick off automation workflows for an emergency medical response – or to order a pizza.
For more inspiration, check out how others have used this Grove sensor on the Arduino Project Hub.
4. Environment Monitor
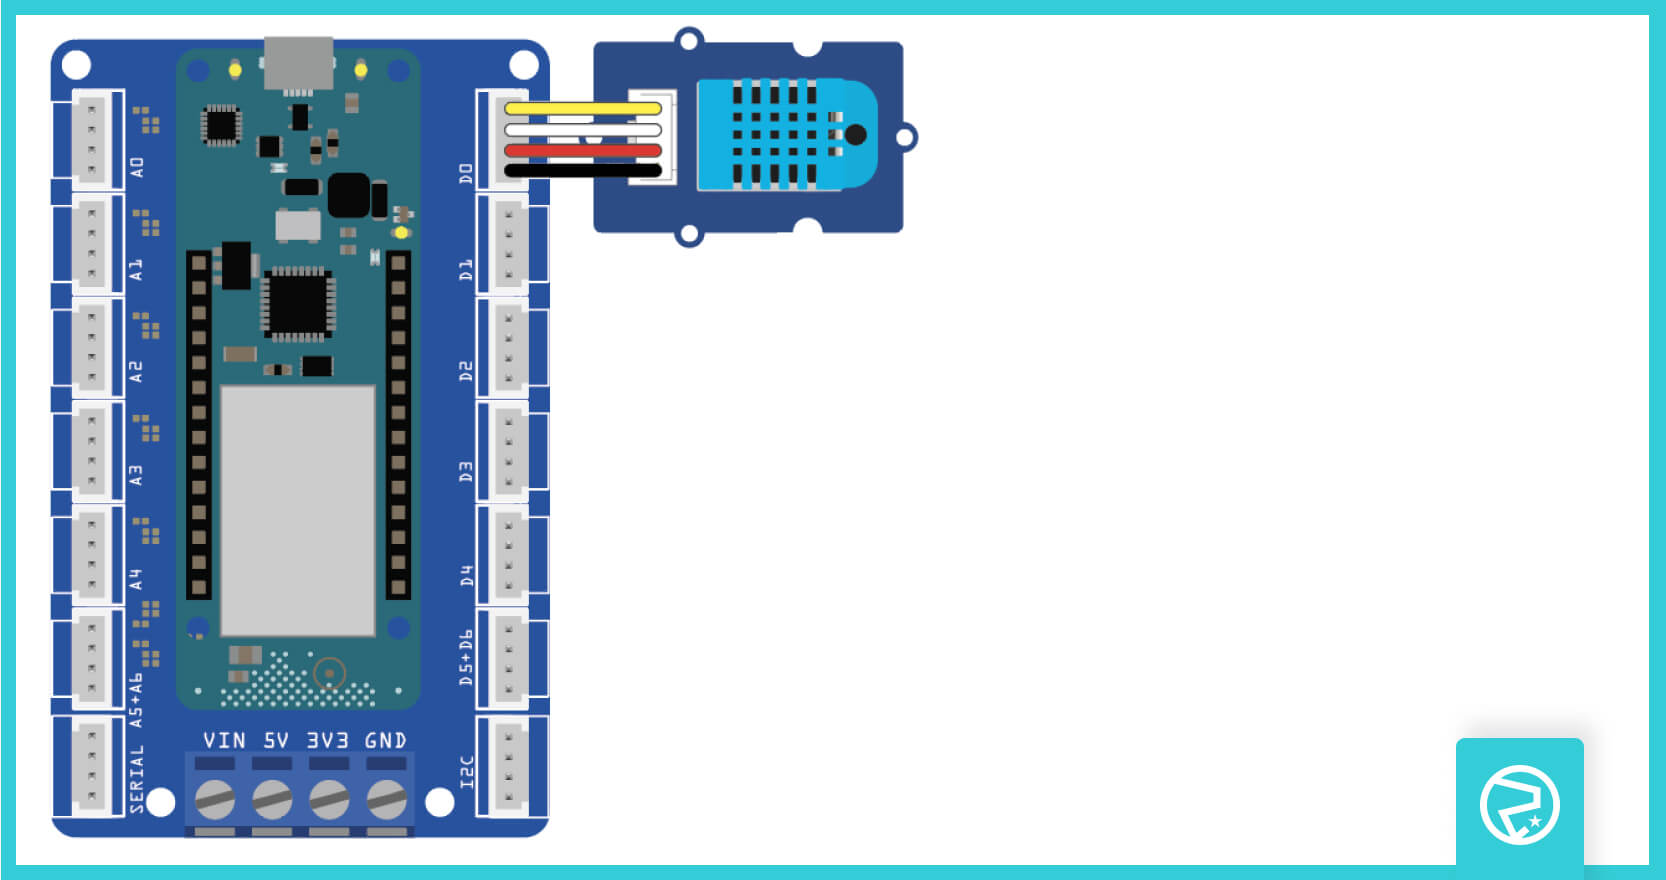
Environment monitoring is synonymous with IoT, but never has it been so easy. With the Soracom IoT Starter Kit, you can build a cloud-enabled temperature and humidity sensor in moments with the included Grove DHT11.
With Soracom Harvest you can quickly begin collecting remote measurements to create and share dashboards using Soracom Lagoon.
What can I do beyond the kit?
In short – ANYTHING. The Arduino open-source community has developed libraries for a myriad of peripherals and components. The Arduino MKR GSM 1400 and MKR NB 1500 are both compatible with many of these libraries.
Here is an example of what can be built with components that aren’t included in our starter kit, but are readily available off-the-shelf.
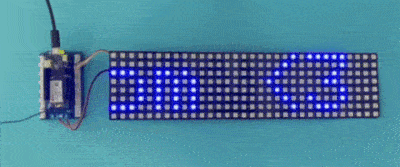
Cloud Controlled Lighting
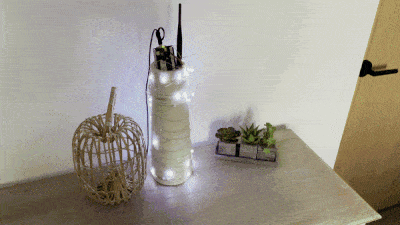
Adafruit has a great guide on using addressable LEDs with Arduino compatible devices to get you started!
You can build interactive lighting displays of any shape! You can even make a scrolling text display using the Adafruit NeoMatrix library.
Combine this with the ability to send and receive SMS using the Soracom API.
Conclusion
Now that you’ve got some ideas for things to build with the Soracom IoT Starter Kit, the next step is to actually start building.
To learn more about the Soracom IoT Starter Kit and to buy yours now, click here.
Don’t forget to share your pictures and videos with @SoracomIoT on Twitter.
We also encourage you to join the Soracom Community on Hackster, where you can find more projects or publish your own.
We can’t wait to see what you build!


MORE LIKE THIS


What is Soracom?
Discover why technology innovators choose Soracom for connecting their
devices to the cloud over cellular.

Soracom's Picks
Advices and interviews, to inform and inspire.


eSIM vs. iSIM: The Battle for the Smallest Square Inch
TL;DR The Paradox of Shrinking Devices There’s a quiet tension…

[Podcast] The Multicast Renaissance: Broadcast TV, Hybrid Networks, and the Future of One-to-Many Connectivity
In this episode, we sit down with Conrad Clemson, CEO…

The Unsung Hero of Micromobility: How Cellular IoT Keeps E-Scooters from Becoming Expensive Sidewalk Litter
Shared e-scooters have quietly become one of the most successful…


Cloud Native
IoT Connectivity Platform
Soracom built the worlds first cloud-native connectivity management platform, built on AWS. Learn more about going beyond connectivity.