
Follow My Paws
Things used in this project
Hardware components

|
Wio LTE US Version - 4G, Cat.1, GNSS, JavaScript(Espruino) Compatible | × 1 |

|
SORACOM Air Global IoT SIM | × 1 |

|
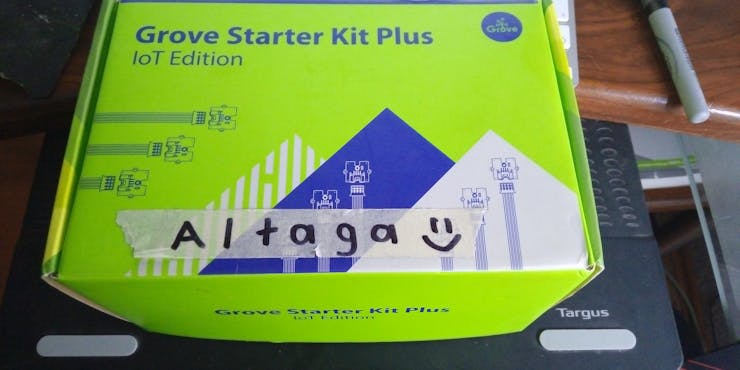
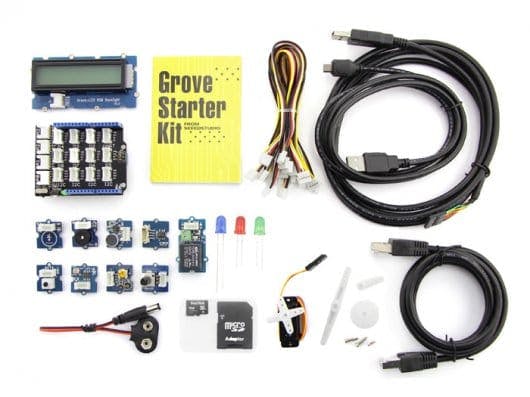
Grove starter kit plus for Intel Edison | × 1 |

|
DHT11 Temperature & Humidity Sensor (4 pins) | × 1 |
Software apps and online services

|
Arduino IDE | × 1 |

|
SORACOM Funnel | × 1 |

|
AWS IoT | × 1 |

|
AWS Lambda | × 1 |

|
AWS SNS | × 1 |

|
AWS S3 | × 1 |
Hand tools and fabrication machines

|
10 Pc. Jumper Wire Kit, 5 cm Long | × 1 |
Story
Follow my paws:
If you have a dog, cat or any pet that needs to go into a kennel when travelling, and be left in the hands of parcel services, you know how stressfull and problematic it is for your precious friends.
The main problem thus is: The horrid care pets get when they are transported in parcel services.
Sometimes we need to send pets with parcel services. How can we be sure they're fine at all times? Take into consideration how baggage is treated.
Always use technology to improve the world, if you are a black hat or gray hat hacker please abstain at this point......... or at least leave your star to make me feel less guilty XP.
Solution:
I will make an integral IoT solution to monitor the pet’s environment, in order to ensure their well-being throughout their journey. All this also integrated with a cloud platform which, in addition to showing the status of the package in real time, also sends notifications at the frequency that is convenient.
The current monitoring solutions are restricted to only lifeless packages, this making the continuous monitoring of pets a novelty. It is useful because thanks to this system pet owners can be 100% sure that their pets will be well and can monitor and follow them throughout their journey.
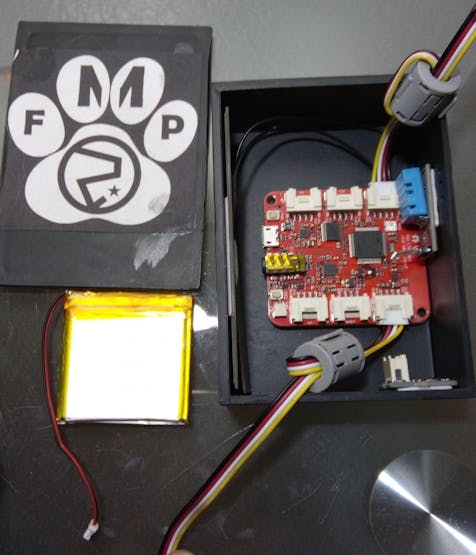
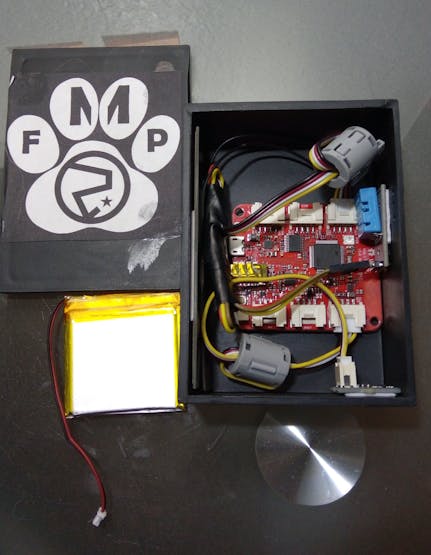
Materials:Hardware:
Software:
To connect the sensors to the WIO, it is necessary that the sensors have a Grove-type input, such as those shown in the following link.
https://www.seeedstudio.com/catalogsearch/result/index/?cat=890&q=GroveFor this project, I already had the "Grove Starter Kit Plus" package which is shown in the following images.
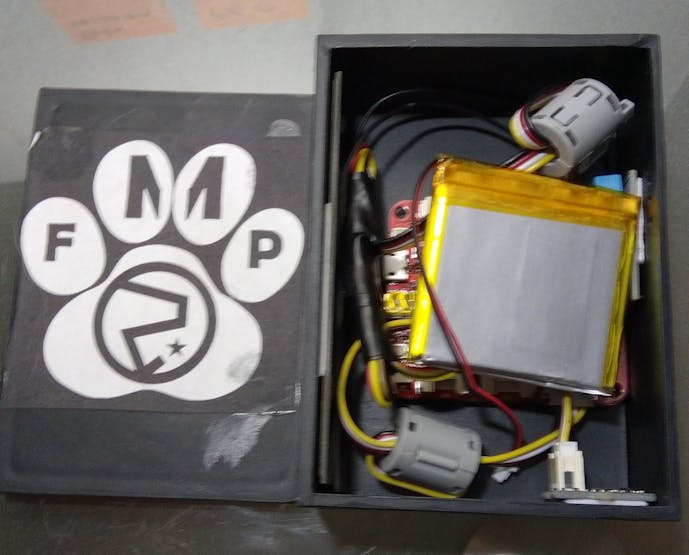
The Content:
The connections that were made, were the following:
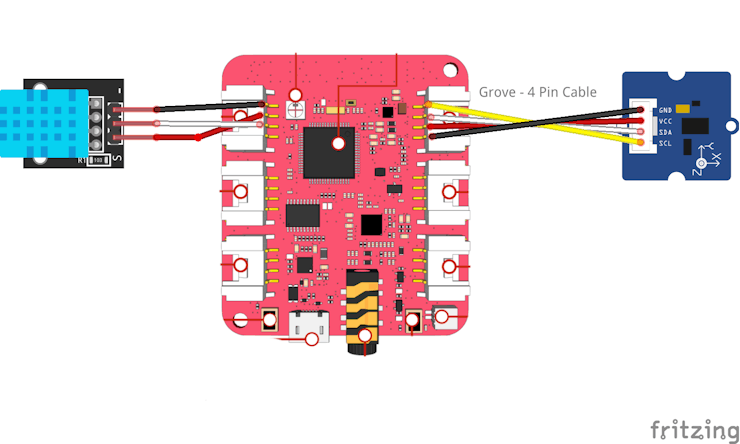
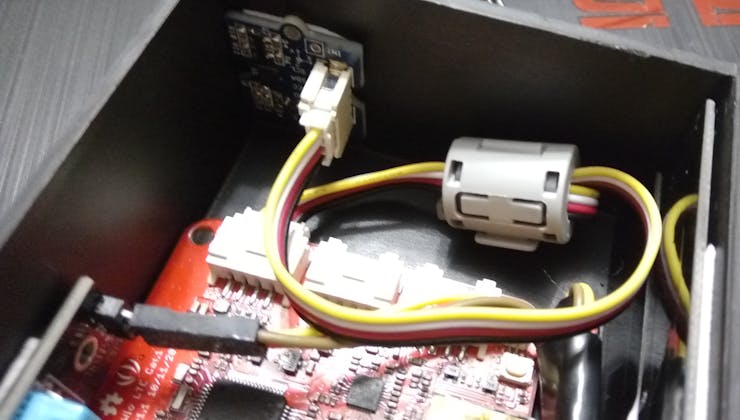
The accelerometer included in the Grove package had no problem connecting to the WIO because it already has its Grove adapter, which I had to hack was the DHT, as we did not had the Grove's DHT.
Accelerometer Grove Version:
DHT No-Grove Version:

This is how to connect the module to the grove cable:
 Wio Setup:
We will prepare the WIO LTE by connecting the SIM card in the appropriate slot.
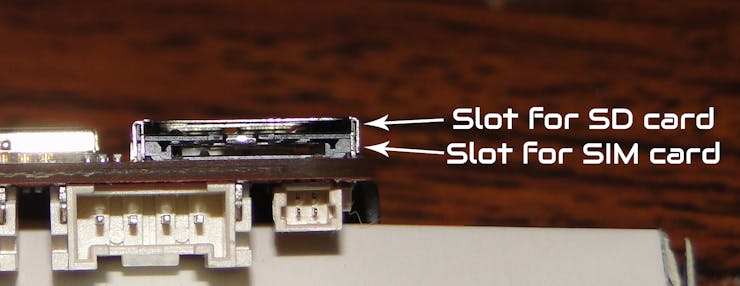
Once we locate the Slot of the SIM card, insert the SIM card into the slot (yes, protect your IMEI and other data).
This will be seen once the card is inserted completely.
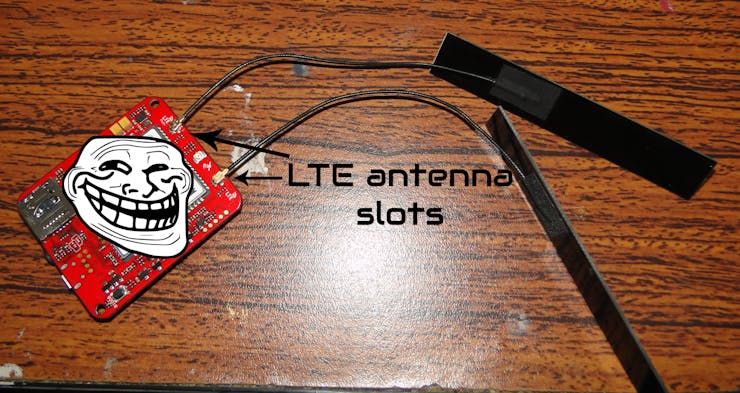
Since we have the SIM card in the WIO LTE, we will connect the antennas to the slots shown in the image below.
Once we finish this, we will have our module ready to use it with Arduino IDE.
Wio Arduino Setup:This is the official guide to install the WIO LTE on the Arduino IDE. I recommend to follow it 100%, it is very clear and concise.
https://github.com/Seeed-Studio/Wio_LTE_Arduino_LibraryThe Arduino Software is on Github.
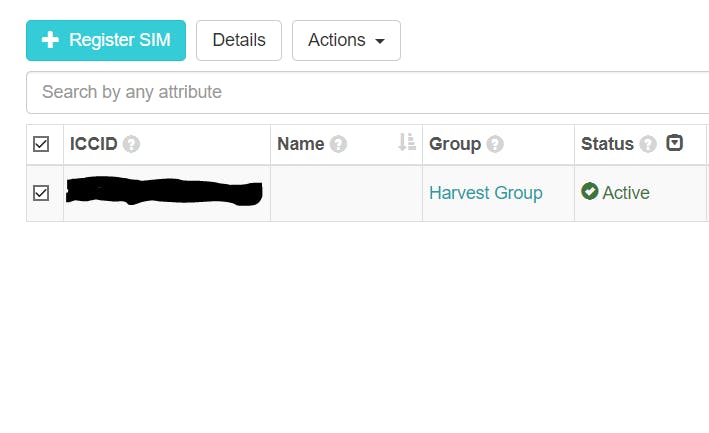
Soracom Platform Setup:It is very important to check that your SIM card is already attached to a group, in my case I call it Harvest Group.
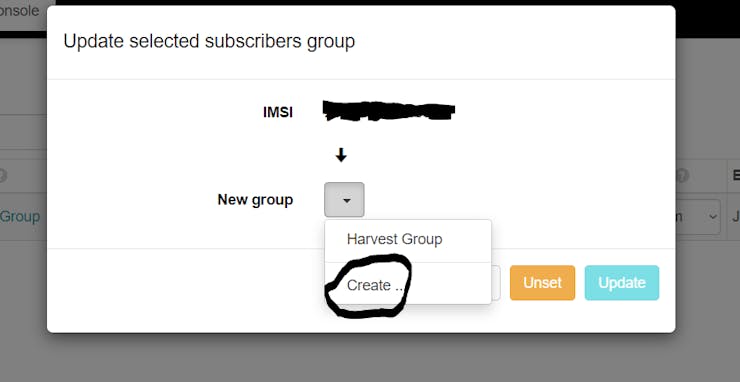
In the case that we do not have a group created, we will create one as shown in the image below, if we do not do this we will not be able to perform the AWS IoT configuration.
Since the group was created, in my case we entered the group menu by pressing "Harvest Group" and once inside we will see the following.
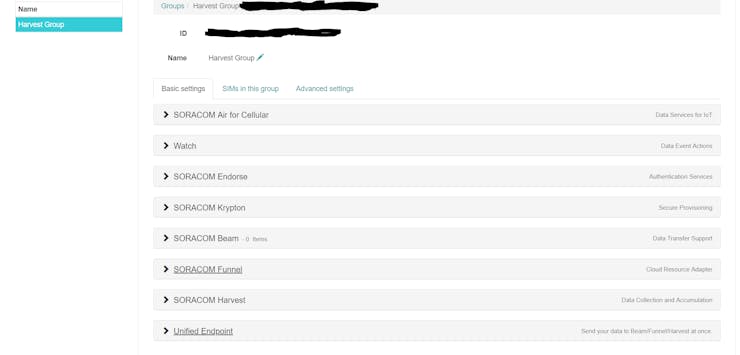
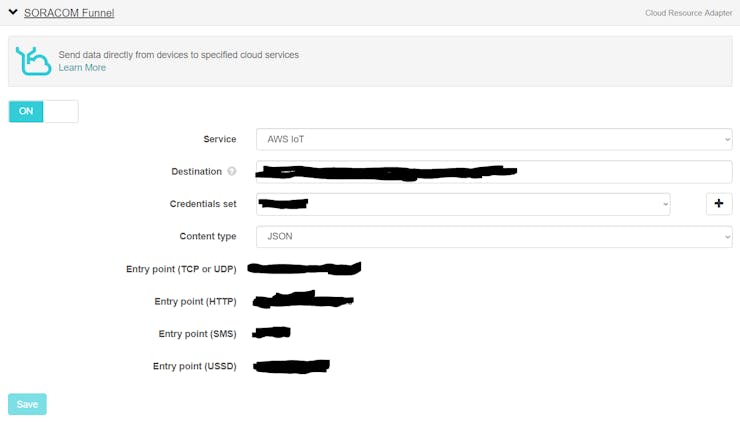
Within the group menu we will enter the option "SORACOM Funnel", this option will allow us to access the connectivity with the services of AWS, all the credentials will be obtained later in the AWS configuration, so do not close this tab (Please follow).
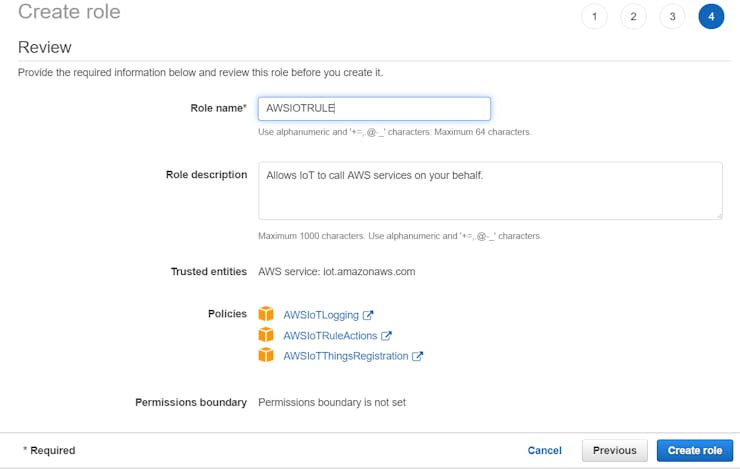
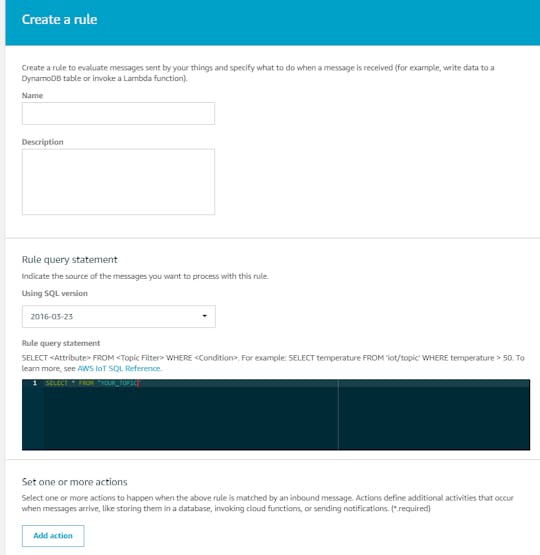
 AWS IoT Setup
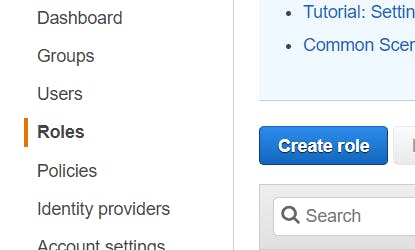
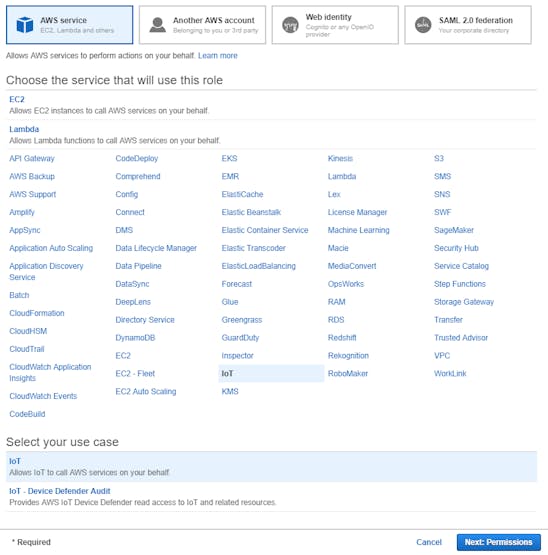
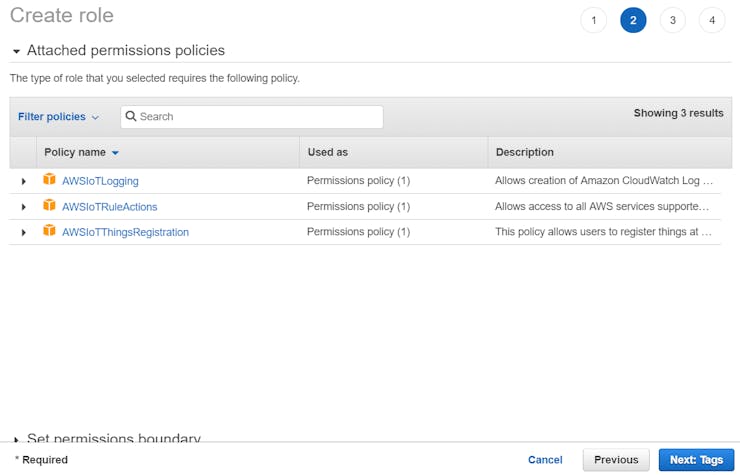
To communicate with AWS IoT we need to create a role in the IAM console in order to authorize Soracom access to our console.
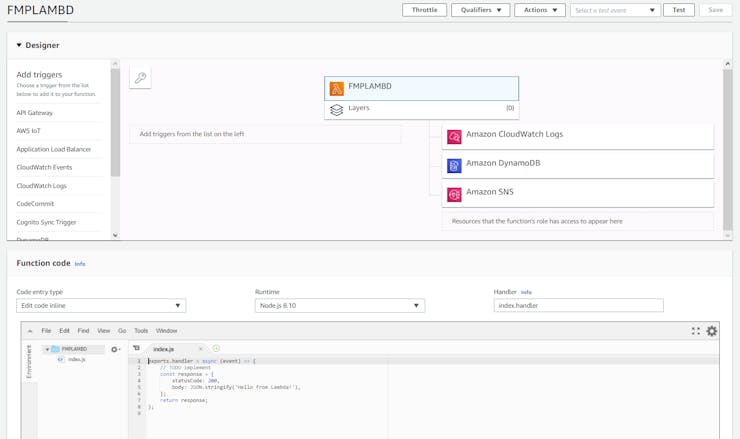
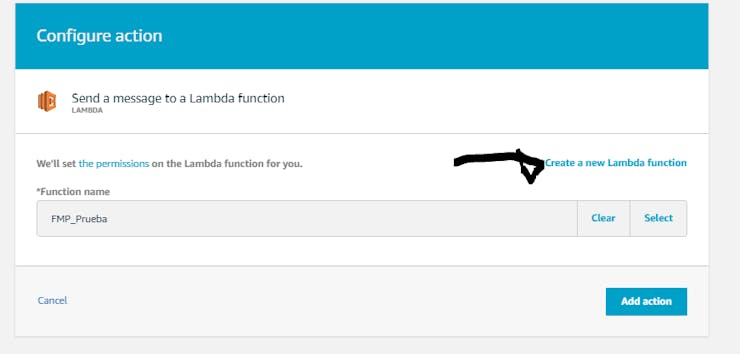 AWS Lambda Setup
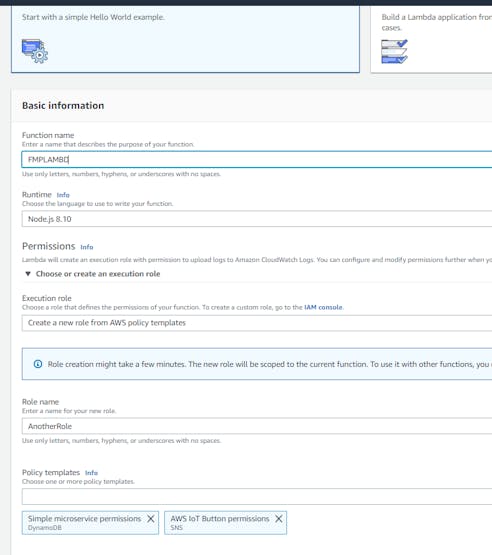
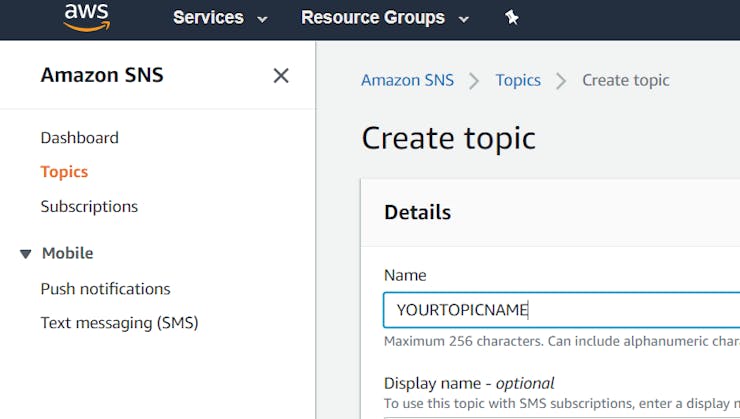
 First Lambda SNS Service:
This is the code to send a notification to SNS, the TopicARN will be obtained later in the SNS configuration.
console.log('Loading function'); // Load the AWS SDK var AWS = require("aws-sdk"); // Set up the code to call when the Lambda function is invoked exports.handler = (event, context, callback) => { // Load the message passed into the Lambda function into a JSON object var eventText = JSON.parse(JSON.stringify(event, null, 2)); // Log a message to the console; you can view this text in the Monitoring tab in the Lambda console or in the CloudWatch Logs console // Create a string, extracting the click type and serial number from the message sent by the AWS IoT button // Write the string to the console var temp=parseInt(eventText.temperature) var acc=parseInt(eventText.accelerometer) var moi=parseInt(eventText.moisture) var air=parseInt(eventText.air) var id=eventText.ID var myarray=[0,0,0,0] if(temp<15) { myarray[0]=4 } else if(temp >= 15 && temp < 18) { myarray[0]=3 } else if(temp >= 18 && temp < 19) { myarray[0]=2 } else if(temp >= 21 && temp < 24) { myarray[0]=1 } else if(temp >= 24 && temp < 26) { myarray[0]=2 } else if(temp >= 26 && temp < 28) { myarray[0]=3 } else if(temp >= 28) { myarray[0]=4 } temp=temp*1.8+32 if(acc<3) { myarray[1]=1 } else if(acc >= 3 && acc < 6) { myarray[1]=2 } else if(acc >= 6 && acc < 10) { myarray[1]=3 } else if(acc >= 10) { myarray[1]=4 } if(moi<20) { myarray[3]=4 } else if(moi >= 20 && moi < 30) { myarray[3]=3 } else if(moi >= 30 && moi < 40) { myarray[3]=2 } else if(moi >= 40 && moi < 50) { myarray[3]=1 } else if(moi >= 50 && moi < 65) { myarray[3]=2 } else if(moi >= 65 && moi < 80) { myarray[3]=3 } else if(moi >= 80) { myarray[3]=4 } air=0.5 * (temp + 61.0 + ((temp-68.0)*1.2) + (moi*0.094)) if(air<90) { myarray[2]=1 } else if(air >= 90 && air < 102) { myarray[2]=2 } else if(air >= 102 && air < 122) { myarray[2]=3 } else if(air >= 122) { myarray[2]=4 } var mess=""; if(myarray[3]==1 || myarray[2]==1 || myarray[1]==1 || myarray[0]==1) { mess="Your dog goes in perfect travel conditions" } if(myarray[3]==2 || myarray[2]==2 || myarray[1]==2 || myarray[0]==2) { mess="Your dog is in good condition" } if(myarray[3]==3 || myarray[2]==3 || myarray[1]==3 || myarray[0]==3) { mess="Your dog is fine but the travel conditions are not the best." } if(myarray[3]==4 || myarray[2]==4 || myarray[1]==4 || myarray[0]==4) { mess="Your dog is fine but travel conditions should improve" } // Create an SNS object var sns = new AWS.SNS(); console.log("Received event:",JSON.stringify(myarray, null, 2),air); var params = { Message: mess, TopicArn: "YOURSNSENDPOINT" }; sns.publish(params, context.done); }; Second Lambda DynamoDB Service:This is the code to send data to DynamoDB.
console.log('Loading function'); var AWS = require("aws-sdk"); exports.handler = (event, context, callback) => { var eventText = JSON.parse(JSON.stringify(event, null, 2)); var temp=parseInt(eventText.temperature) var acc=parseInt(eventText.accelerometer) var moi=parseInt(eventText.moisture) var air=0 var id=eventText.ID var myarray=[0,0,0,0] if(temp<15) { myarray[0]=4 } else if(temp >= 15 && temp < 18) { myarray[0]=3 } else if(temp >= 18 && temp < 19) { myarray[0]=2 } else if(temp >= 21 && temp < 24) { myarray[0]=1 } else if(temp >= 24 && temp < 26) { myarray[0]=2 } else if(temp >= 26 && temp < 28) { myarray[0]=3 } else if(temp >= 28) { myarray[0]=4 } temp=temp*1.8+32 if(acc<3) { myarray[1]=1 } else if(acc >= 3 && acc < 6) { myarray[1]=2 } else if(acc >= 6 && acc < 10) { myarray[1]=3 } else if(acc >= 10) { myarray[1]=4 } if(moi<20) { myarray[3]=4 } else if(moi >= 20 && moi < 30) { myarray[3]=3 } else if(moi >= 30 && moi < 40) { myarray[3]=2 } else if(moi >= 40 && moi < 50) { myarray[3]=1 } else if(moi >= 50 && moi < 65) { myarray[3]=2 } else if(moi >= 65 && moi < 80) { myarray[3]=3 } else if(moi >= 80) { myarray[3]=4 } air=0.5 * (temp + 61.0 + ((temp-68.0)*1.2) + (moi*0.094)) if(air<90) { myarray[2]=1 } else if(air >= 90 && air < 102) { myarray[2]=2 } else if(air >= 102 && air < 122) { myarray[2]=3 } else if(air >= 122) { myarray[2]=4 } // Set the region AWS.config.update({region: 'ap-northeast-1'}); // Create the DynamoDB service object var ddb = new AWS.DynamoDB({apiVersion: '2012-08-10'}); var params = { TableName: 'FMPtemp', Item: { 'ID' : {S: id}, 'Array' : {S: JSON.stringify(myarray, null, 2)} } }; // Call DynamoDB to add the item to the table ddb.putItem(params, function(err, data) {if (err) {} else {}}); }; AWS SNS Setup:
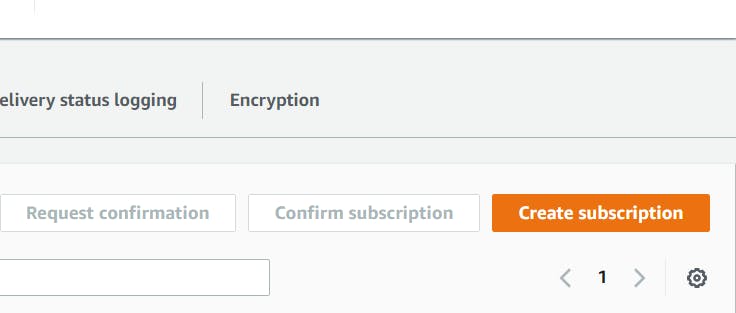
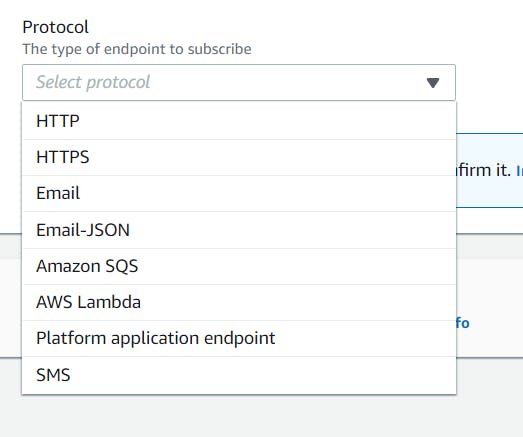
 AWS DynamoDB Setup:
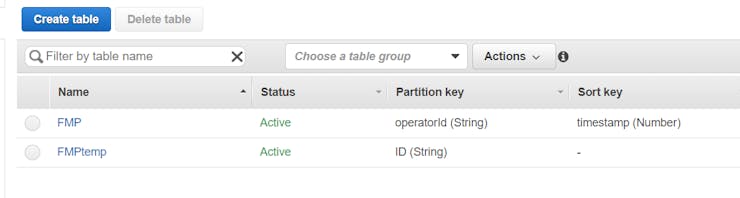
For this project and for our web implementation, we will need 2 tables created in DynamoDB, since one we will use as data storage and another we will use it for temporary variables that we can use in the WEB platform.
 WEB Interface Setup:
The web platform may look simple, but it has a very interesting implementation in its way of interacting with AWS.
One of the biggest problems when working with a web page, is having temporary variables, because every time the page is updated, we will lose all the information stored by the variables, however in my implementation I extract data directly from DynamoDB, thanks to the javascript SDK that provides AWS, therefore I can store information in a database, as seen in the above image in the database called "FMP", and save temporary variables and quick access for the deployment and update of the web page "FMPtemp".
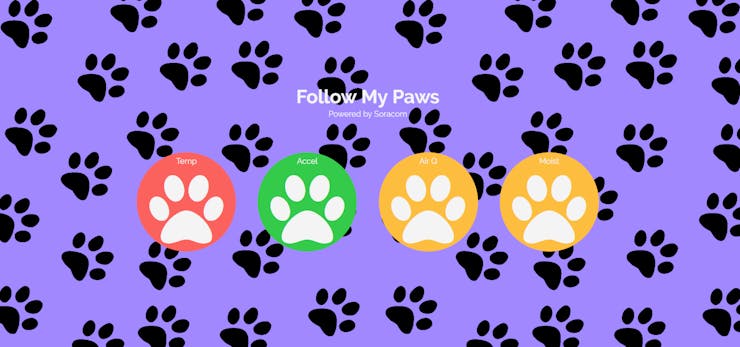
Each of the legs represents the following:
Color Ranges:
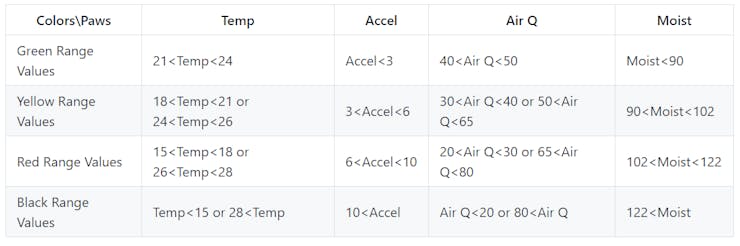
The air quality is calculated using the following formula using a reduced version to calculate the dew point of the air and according to the books it must be less than 90:
Air Q=0.5 * (temp + 61.0 + ((temp-68.0)1.2) + (moist0.094))The Final Product: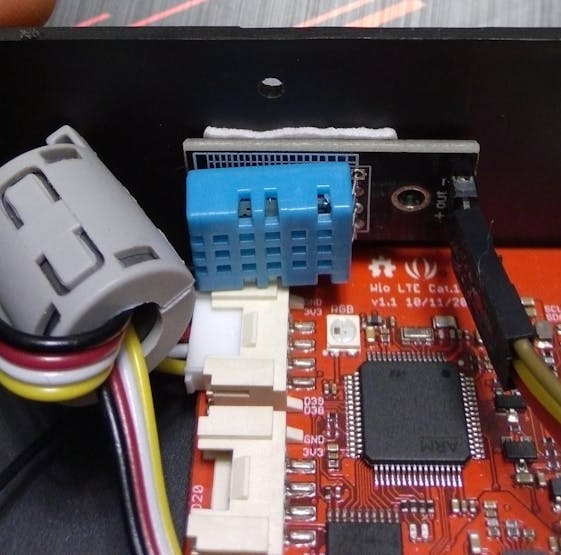


Time of Our Epic Demo: