Configuring a Teltonika Router To Work With Soracom Arc
Many IoT deployments will require a cellular gateway or router in order to transmit data to and from the cloud. This is especially true if the hardware within the deployment’s network doesn’t have any built-in cellular capabilities, if they require battery power, or if they rely on Bluetooth technology to connect to a BLE gateway.
One popular cellular router that’s found in many IoT applications is the Teltonika RUT-240. This powerful piece of kit is used by IoT developers for connecting their mission-critical devices over cellular in even the harshest and most hazardous environments.
But what if you were able to configure the Teltonika router to securely connect over a Wi-Fi connection, rather than cellular? Doing so would mean that you could potentially reduce your data costs, and would also mitigate any issues where cellular connectivity is unstable or unreliable.
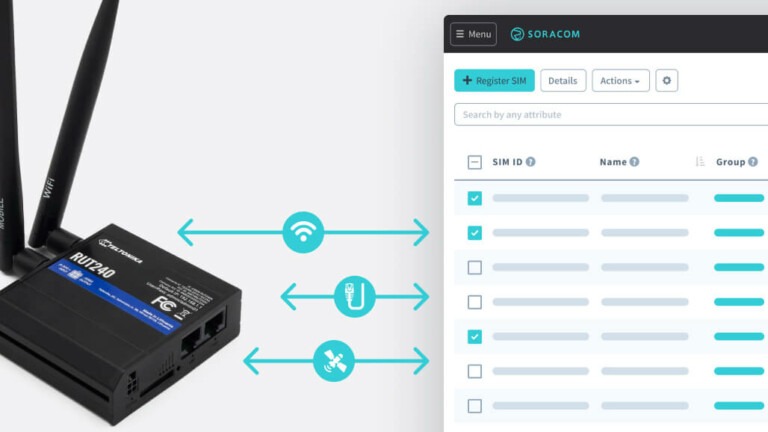
With our newly-announced Soracom Arc service, compatible devices to connect directly to the Soracom platform using any standard internet connection – such as WiFi, Ethernet, or satellite. It utilizes a secure VPN tunnel to the Soracom network and is supported by the acclaimed WireGuard protocol in order to provide a secure connection.
In this article, we’ll explain how to quickly configure a Teltonika RUT-240 Router Gateway to work with Soracom Arc, so that your network of devices can connect over a Wi-Fi or Ethernet connection instead of relying purely on cellular.
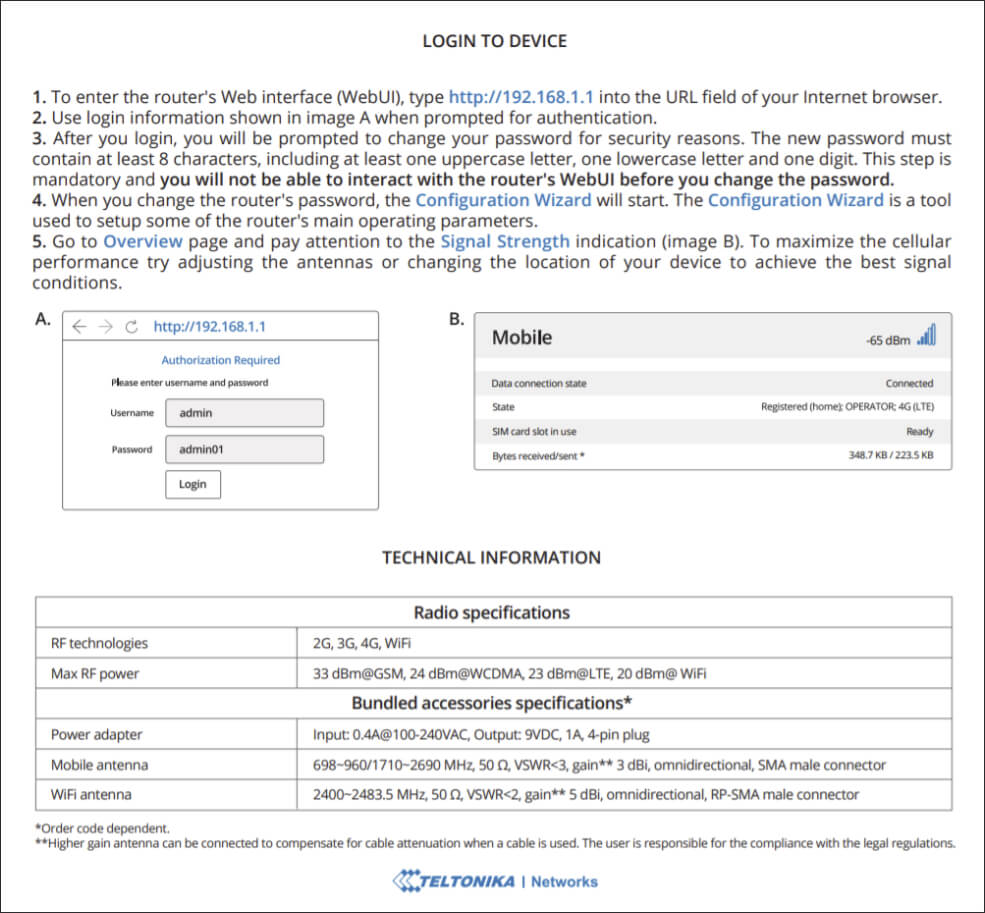
1. Setting up your Teltonika router
The first step is to configure your Teltonika router/gateway per the user guide that came with it. Follow the instruction to enter the router’s WebUI and set up the username and password.
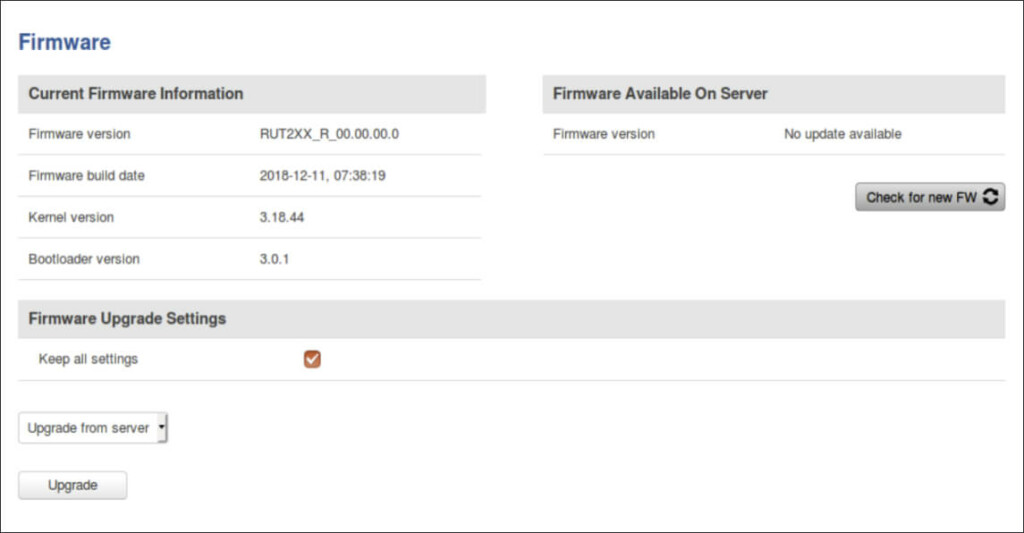
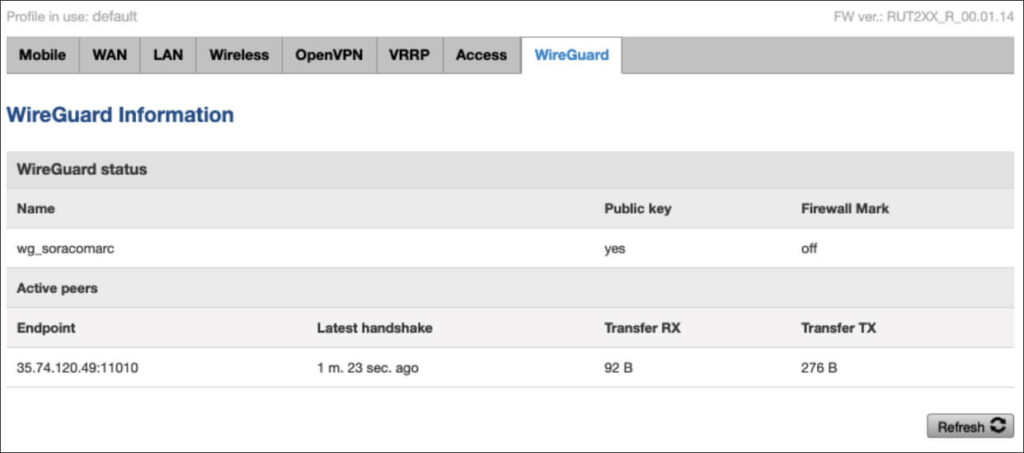
2. Verifying the firmware to work with Soracom Arc
The firmware version RUT2XX_R_00.01.14 or higher is required in order for your router to work with Soracom Arc. Make sure that you have the right version installed, and update the firmware if required.
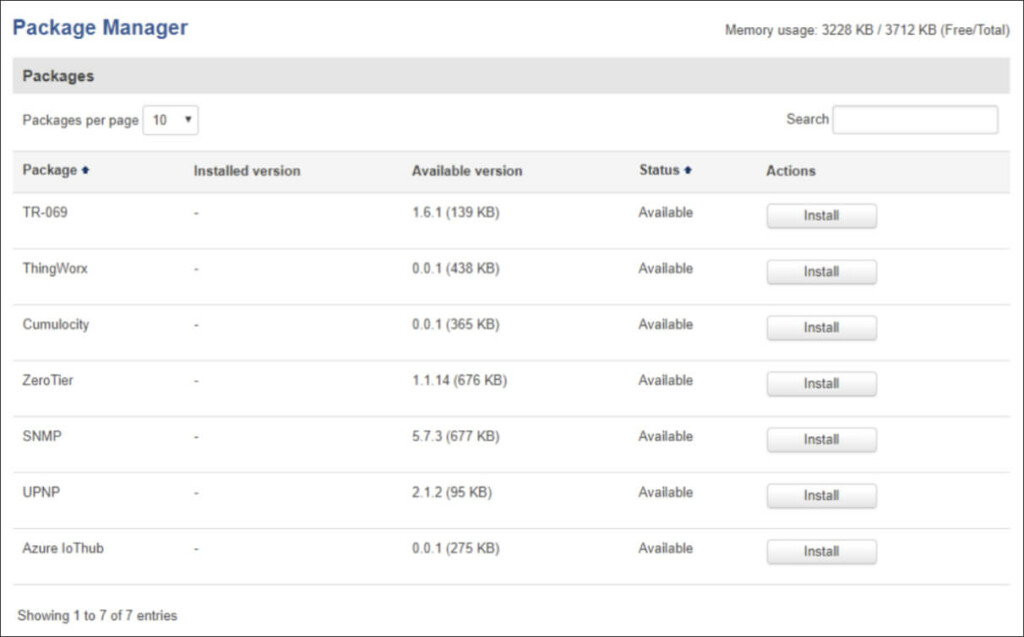
3. Installing WireGuard on the Teltonika using Soracom Arc
Once connected to the Internet, navigate to the Package Manager page of the Teltonika router, then search for and install WireGuard.
4. Creating a Virtual SIM in Soracom
Next, we need to log into the Soracom User Console and create a virtual SIM (vSIM) with Soracom Arc. You can find detailed instructions on how to set this up in our developer docs, here.
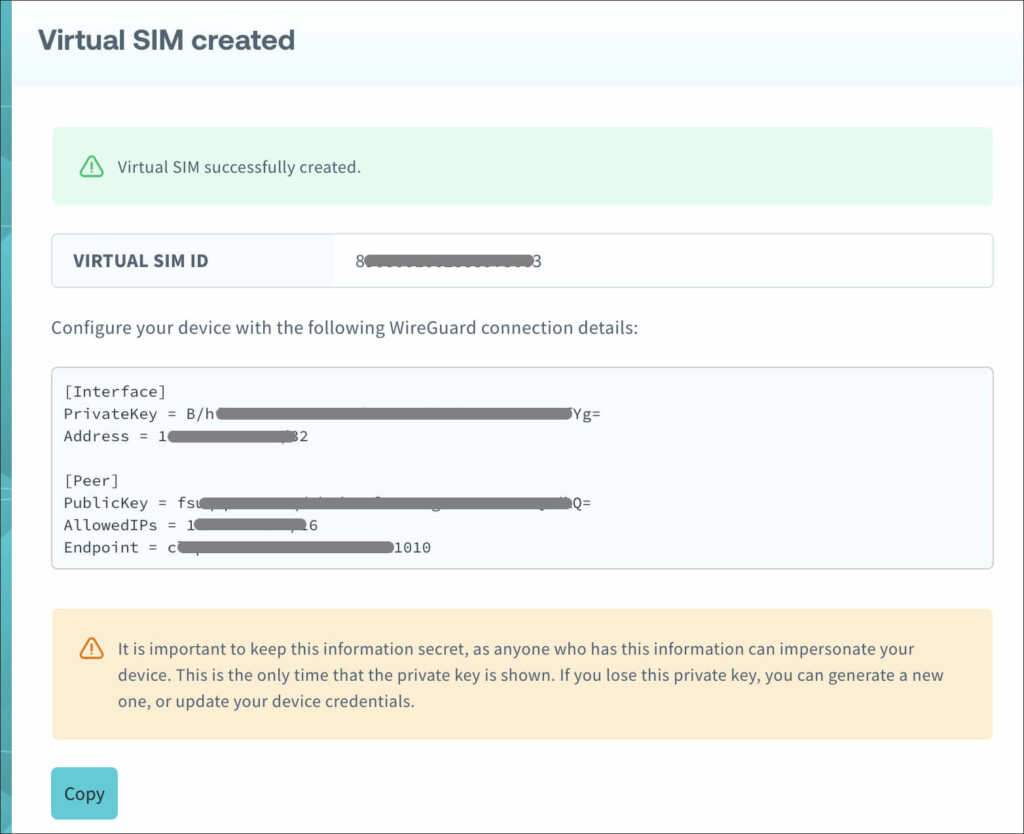
Once done, you’ll be given a unique set of credentials for this specific vSIM.
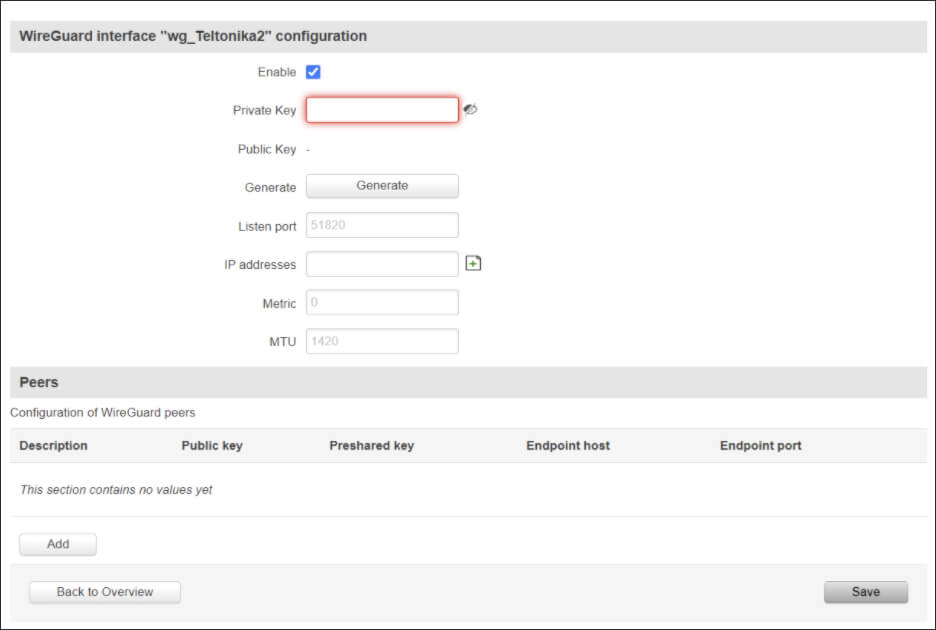
5. Adding vSIM credentials to the Teltonika
The final step is to copy the specific credentials of the vSIM in Soracom, navigate to the VPN page of the Teltonika router, and enter these credentials into the WireGuard configuration page.
Summary
And that’s all there is to it. You have now configured WireGuard on your Teltonika router, and are able to securely connect to Soracom over Wi-Fi or Ethernet over a VPN tunnel.
For more information, visit our Soracom Arc developer docs for more in-depth guides and helpful tips to get started on the Soracom platform.
Got a question about Soracom Arc? We’d love to hear from you! Click here to chat with our team of IoT experts now.
………………
Got a question for Soracom? Whether you’re an existing customer, interested in learning more about our product and services, or want to learn about our Partner program – we’d love to hear from you!